Jenkins Agent Setup
Introduction
In this section of the tutorial series we will be setting up a Windows agent and an UE5 agent for preforming our builds.
Note
This tutorial is part of a series of tutorials on building UE5 projects using Jenkins and AWS CodePipline.You can see Part 2 of this tutorial below.
Windows Base Agent
Our Windows base agent will add the following functionality to the Windows Server 2022 Base:
- OpenSSH Client & Server
This will allow us to connect to the instance from the Jenkins controller.
- Java
This will allow the Jenkins agent process to be run on the instance.
- Storage Volume
An additional storage volume will be configured which increases our available space.
We will also configure some new AWS components for the base-agent which will be used for all other future agents:
- A new Agent security group
- A new IAM role
These won’t be captured by the AMI snapshot but will be used by the controller when launching the agents.
AWS Set Up
Agent Security Group
- As we did before, we can create a new security group and give it a name and description.
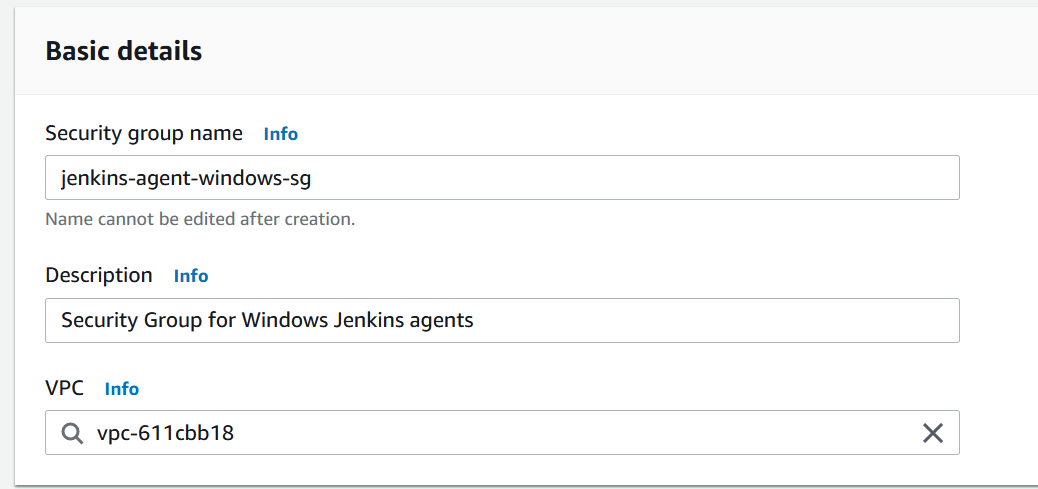
2. We can configure the Inbound rules as in the screenshot below.
Importantly, we can set SSH to only be accessible from the controller security group.
This means that only the controller can use the relevant port.
To connect to a Windows EC2 instance, we will use RDP.
This means we allow inbound traffic to the RDP port 3389 from “My IP” only.

- Add your meta-data tags and click “Create security group”.
Custom Agent Policies
We will be using two additional custom policies for our Jenkins agent role, as well as the GameLiftFullAccess role we created earlier.
The first custom policy will be for SES which allows the agents to send emails. The second custom policy will be for S3 so that the agent can upload artifacts and create short-lived links.
Instead of the visual editor, you can just copy the JSON below, and replace any text wrapped in [].
SES Policy
Add a new policy that allows the two SES write actions SendEmail and SendRawEmail for all configuration-sets in this account and all identities in this account.
Name the policy and add any tags necessary before you create it.
{
  "Version": "2012-10-17",
  "Statement": [
    {
      "Sid": "VisualEditor0",
      "Effect": "Allow",
      "Action": [
        "ses:SendEmail",
        "ses:SendRawEmail"
      ],
      "Resource": [
        "arn:aws:ses:*:[your account id>:identity/*]",
        "arn:aws:ses:*:[your account id>:configuration-set/*]"
      ]
    }
  ]
}
S3 Policy
Add a new policy that allows the ListBucket, PutObject and GetObject actions for all buckets and all objects.
Name the policy, add any tags required and create it.
{
  "Version": "2012-10-17",
  "Statement": [
    {
      "Sid": "VisualEditor0",
      "Effect": "Allow",
      "Action": [
        "s3:PutObject",
        "s3:GetObject"
      ],
      "Resource": "arn:aws:s3:::*/*"
    },
    {
      "Sid": "VisualEditor1",
      "Effect": "Allow",
      "Action": "s3:ListBucket",
      "Resource": "arn:aws:s3:::*"
    }
  ]
}
Agent IAM Role
Create a new IAM role as we did before for the EC2 service and add the following policies:
- S3ReadWrite (Custom Policy we just created)
- SESSendEmail (Custom Policy we just created)
- GameLiftFullAccess (Custom Policy we created earlier for the controller link)
Configuring The Base-Agent
Launching the Agent Instance
We will need to launch an EC2 instance and configure it in the way we need first. We will then create the AMI.
Let’s start an EC2 instance the way we did previously but this time there will be some slight variations:
- Name your instance.
- Select the Windows Server 2022 Base AMI.
- Choose your instance type.
- Choose the same key-pair we used previously for convenience.
- Select the agent security group we created previously.
- Increase the root volume size to 50 GiB
(This will be required to install things like Visual Studio which are quite large) - Add a second new volume using the button Add new volume.
Our project is quite small and doesn’t require much space, therefore we only add an additional 100GiB of space, but you can attach as much additional space as is needed for your project.

8. Set the IAM instance profile to the agent role we created and click “Launch”
Connecting to the instance
We will be using the Windows Remote Desktop app, which you can find here.
In the EC2 dashboard, click on Instances in the sidebar, right-click on the running Jenkins Controller instance and select “Launch”.
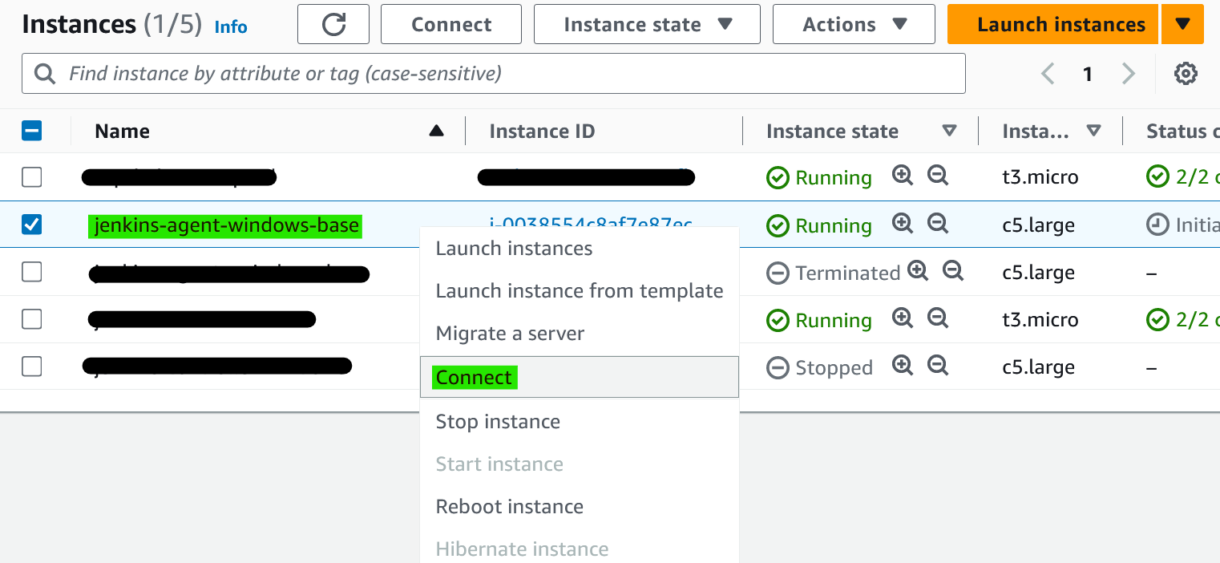
2. Click on the “RDP client” tab and you can download the remote desktop file.
You’ll be able to open this file using the Windows Remote Desktop app.
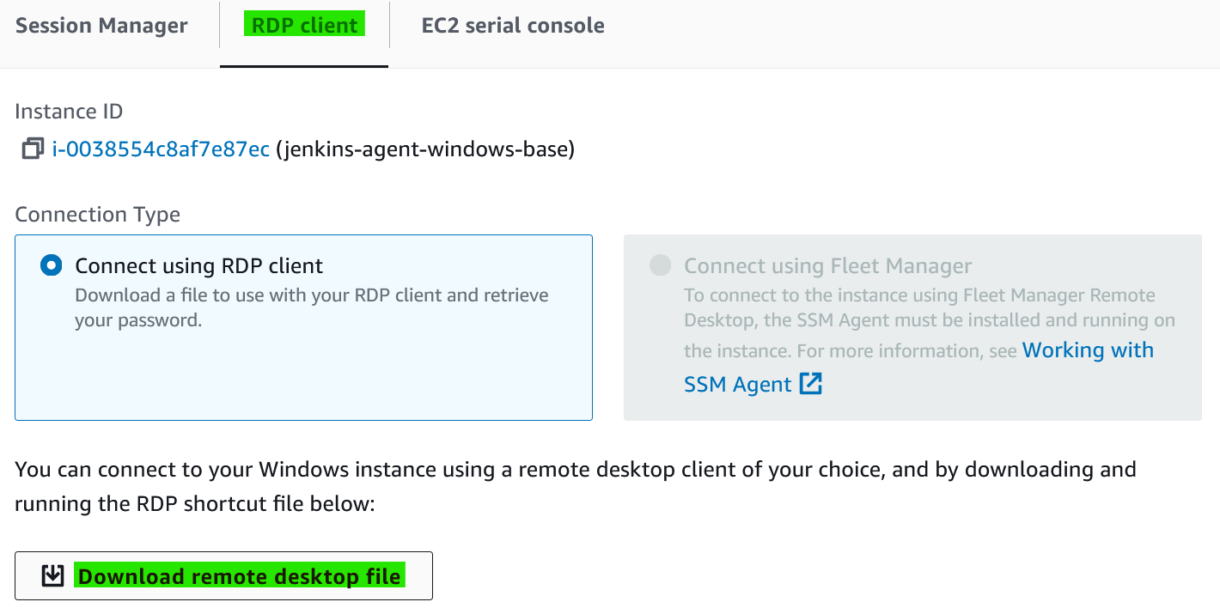
3. When connecting to a remote instance for the first time, you will need to use the AWS-provided user and password. Click on “Get password”.

4. Upload the .pem file we downloaded earlier when creating the key pair, and click “Decrypt password”.
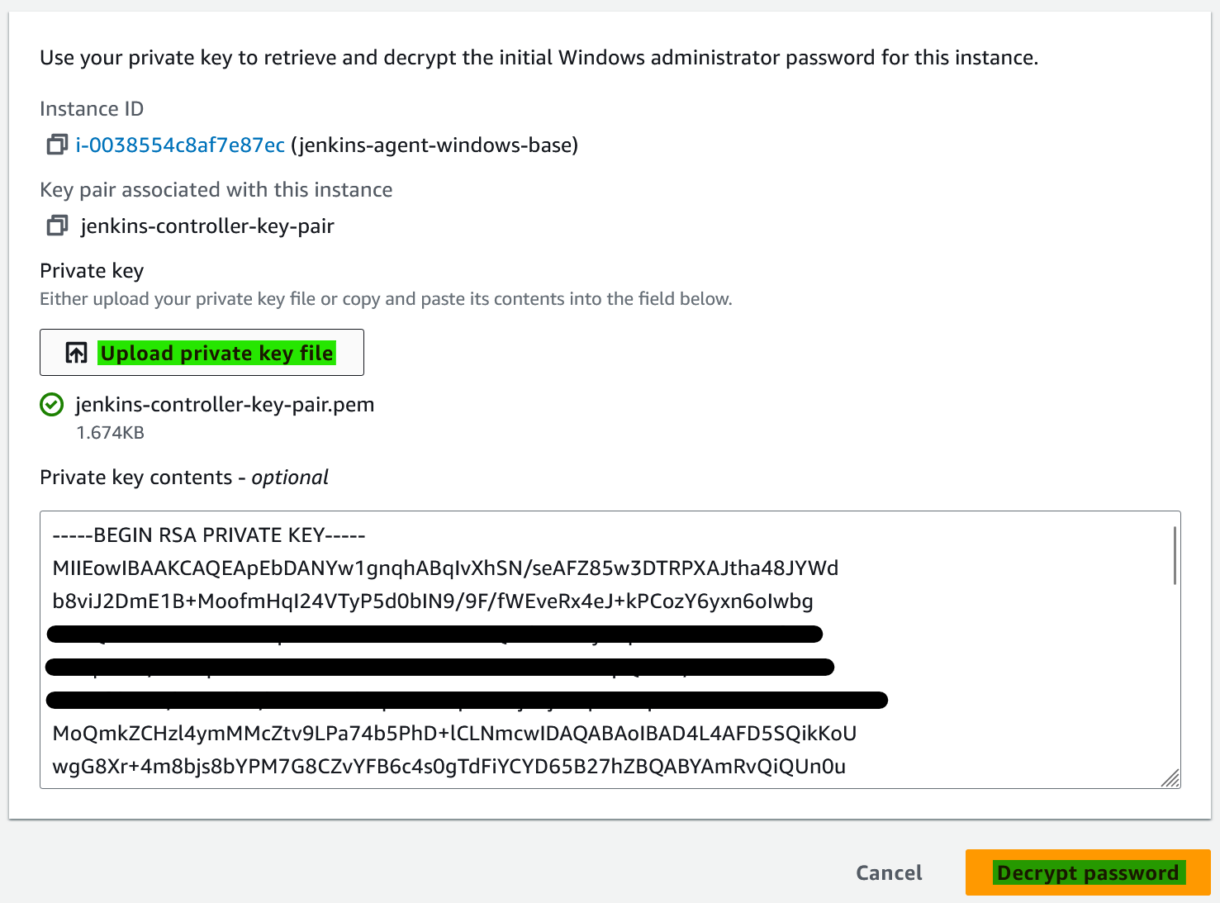
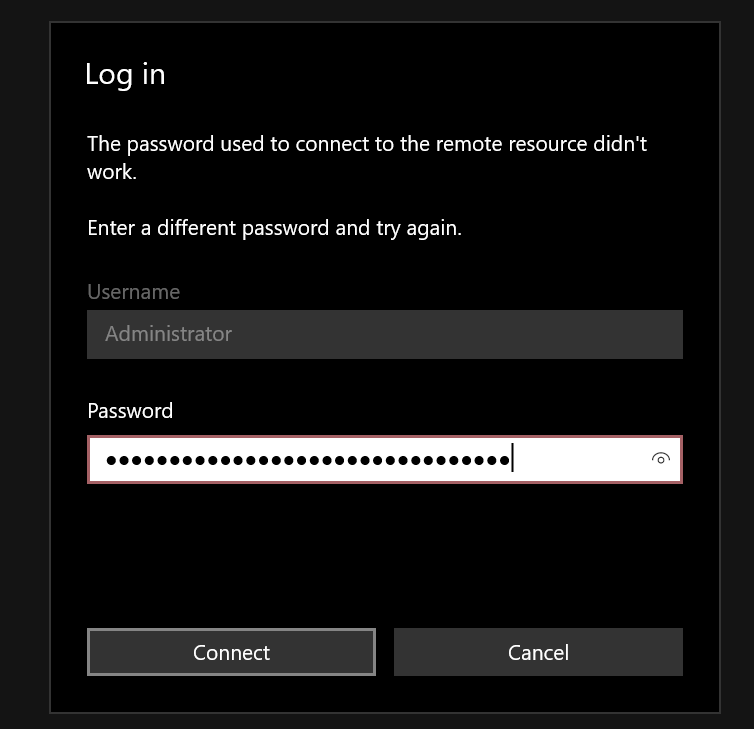
5. Double-click on the remote desk file we just downloaded and log-in using the username and password we just decrypted.
For Windows instances, the username will be “Administrator”.
Configuring The Base-Agent
Now we can move on to setting up the software on this instance.
- Connect to the instance using RPD and the Administrator user.
- Next, open Powershell on the instance.
- Install the OpenSSH Server using the following command.
Add-WindowsCapability -Online -Name OpenSSH.Server~~~~0.0.1.04. Set the server to start automatically on instance start.
Set-Service -Name sshd -StartupType Automatic5. We can now start the server.
Start-Service sshd6. Next, we can install the client using the same steps.
Add-WindowsCapability -Online -Name OpenSSH.Client~~~~0.0.1.0
Set-Service -Name ssh-agent -StartupType Automatic
Start-Service ssh-agent
7. We also want to use PowerShell as its default shell when a user connects via SSH.
You can set this using the following command.
New-ItemProperty -Path "HKLM:\SOFTWARE\OpenSSH" -Name DefaultShell -Value (Get-Command powershell.exe).Path -PropertyType String -Force8. To test that all of this worked correctly, you can use the command:
Get-WindowsCapability -Online | Where-Object Name -like 'OpenSSH*'You should see the following output from your terminal…

9. We now need need to install the Java JDK 17 with the following steps:
- Download it here
- Check that it is installed correctly by running the command “java –version“ in PowerShell.
Now we have the required software installed, the last thing we need to do is to set up the additional EBS storage we added to the instance.
We will do this in the Disk Management Windows tool. You can start this tool by executing the run-commandRun diskmgmt.msc.
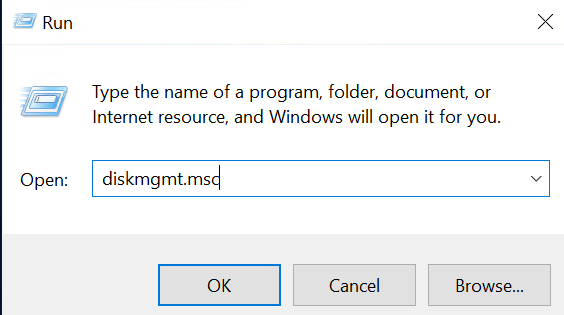
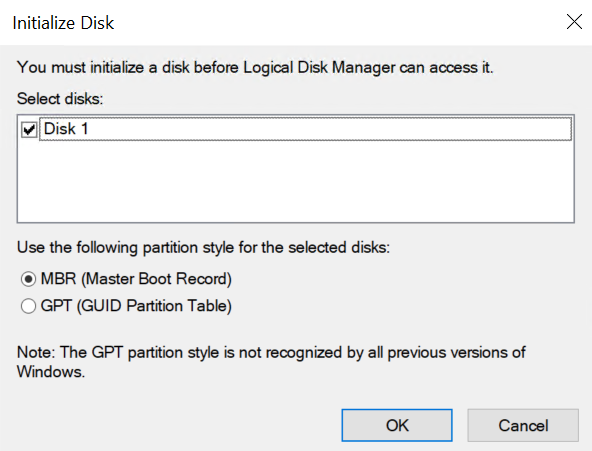
When you open Disk Management for the first time, a popup asking us to initialize a disk should show up. Keep the default settings and click the “OK” button.
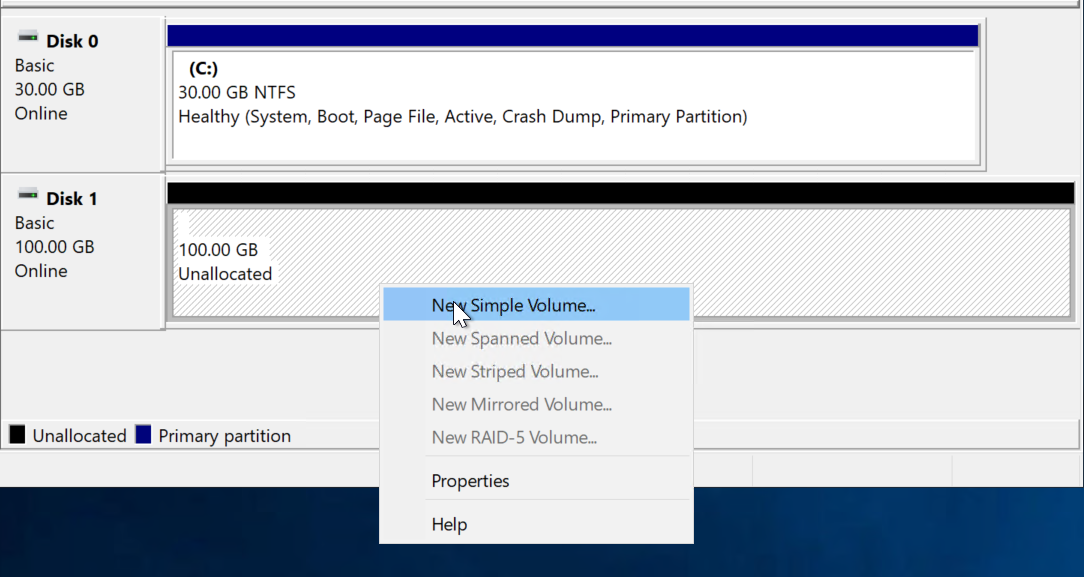
Right-click on the Unallocated volume in Disk 1 and select “New Simple Volume”.
Specify the volume size to be the max possible space.

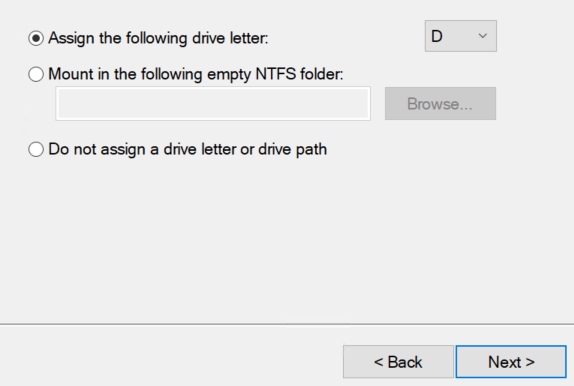
Assign a drive letter (D by default).
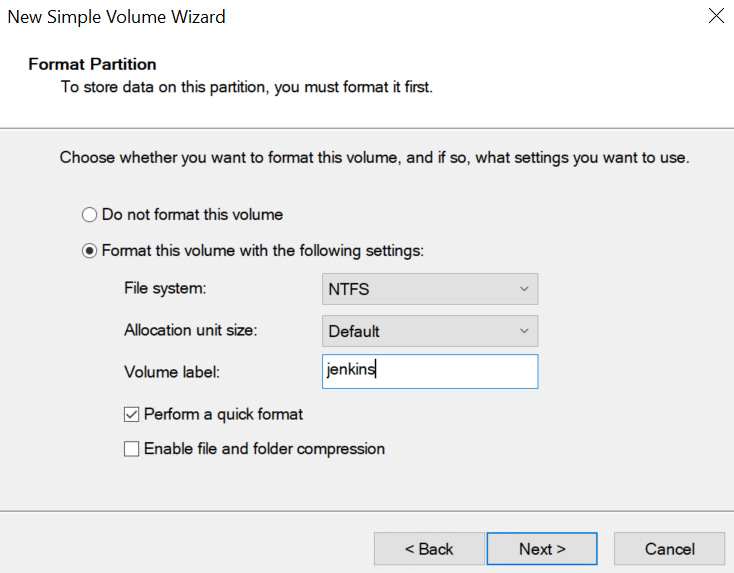
Give the Volume a label and click “Next” and then Finish.
You can check in the file explorer to make sure both disks are available.

Now we need to shut down the instance in order for us to generate the AMI image.
However, if we just shut down the instance normally, we would lose the ability to run UserData on initial boot for any AMI we create using this instance.
To avoid this, we will shut down the instance with “SysPrep”.
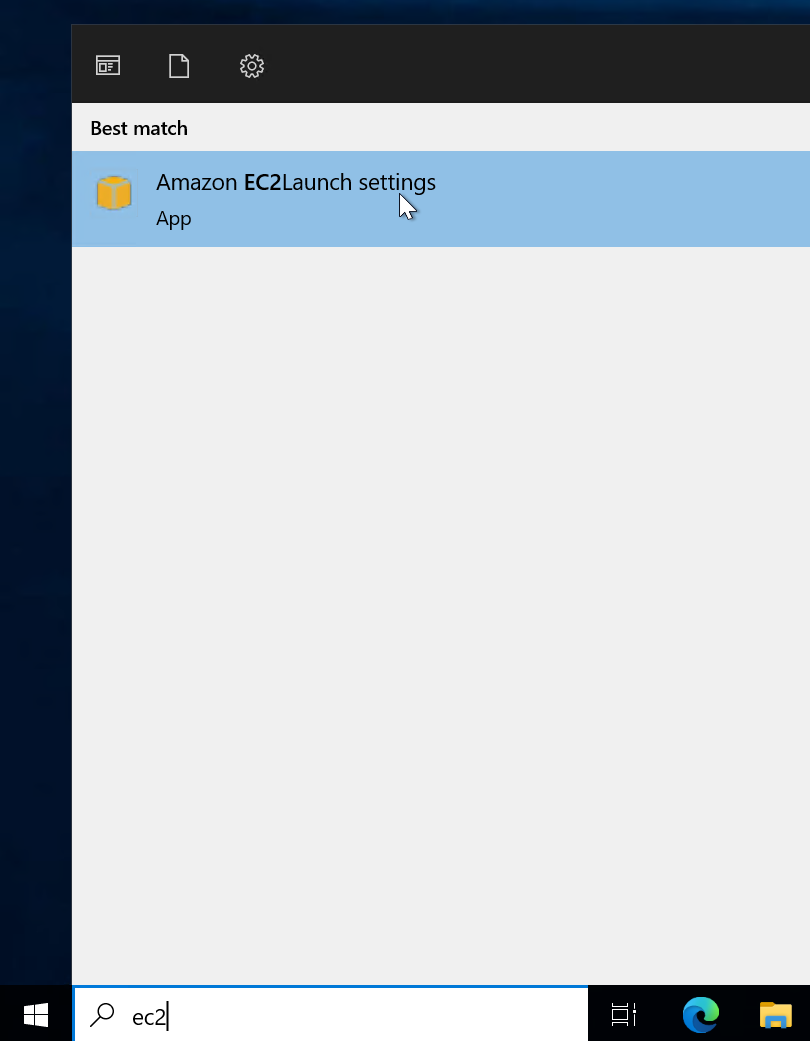
To do this you need to ppen Amazon EC2 Launch Settings. You can find this by searching for “EC2” in your desktop taskbar.
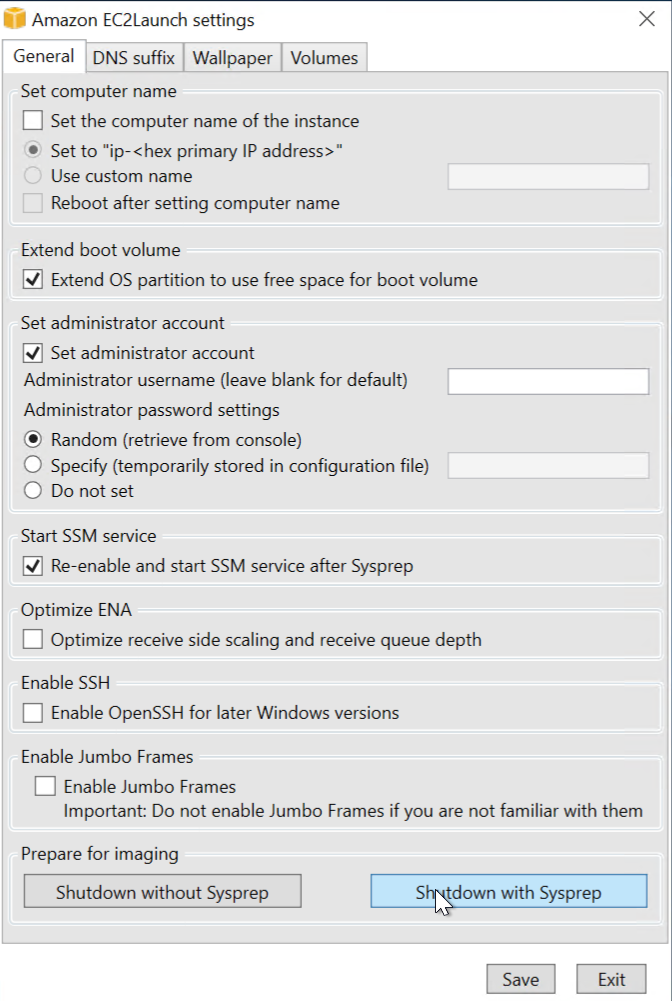
From the options available, select “Shutdown with Sysprep”.
What this is going to do is prep the Operating System for imaging and then shut down the instance.
That’s all that is required to use this instance as a Jenkins Agent.
In the next section we will create the AMI that can be reused by the Jenkins controller.
Creating The AMI
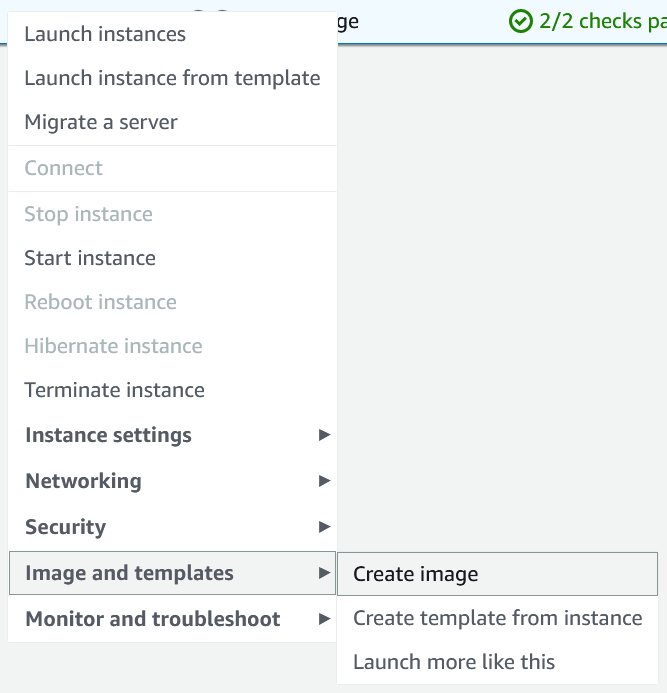
1. Once the instance has stopped (this might take some time), right-click on the instance and select the “Image and templates” tab and then “Create Image”.
2. Give your image a name and description.

3. Enable “Delete on termination” for both disks.
When an instance is terminated, all resources used by it will be released.
If we were to keep “Delete on termination” off, we would retain the data from the additional EBS. For now, we don’t want that.

4. Give the Image some tags and click “Create image”.
Depending on the complexity of the instance you are creating an image for, it can take quite a while before the AMI status becomes “Available”. Once it is, we can launch an instance using this AMI as a template.
You can also consider making an AMI of the Controller instance we created earlier. If the controller even gets terminated by accident, it will be easy to launch another from the backup AMI.
Adding The AMI To The Controller EC2 Cloud
This part can be a bit overwhelming due to the sheer amount of customization options available.
To keep it simple for this example you do not need to worry about anything that isn’t described below:
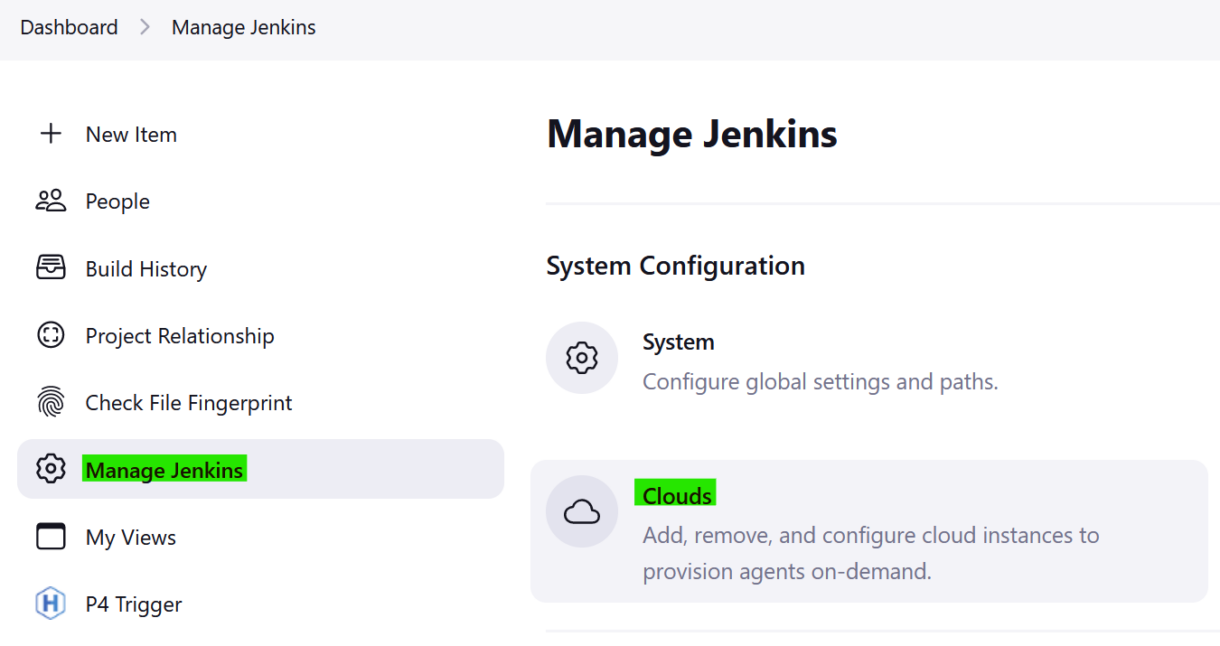
- From the Controller Jenkins dashboard, navigate to “Clouds”.
2. Click on the cloud that we configured earlier.
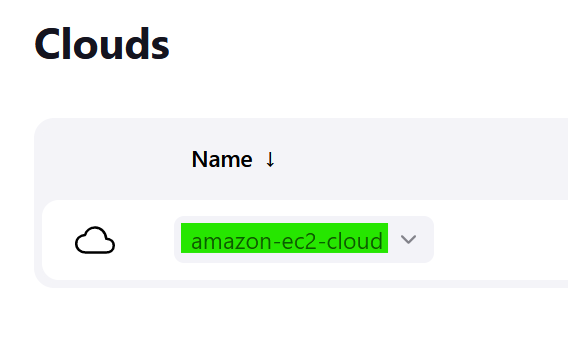
3. Then select “Configure” in the left sidebar.

4. You should see our previously set up EC2 cloud.
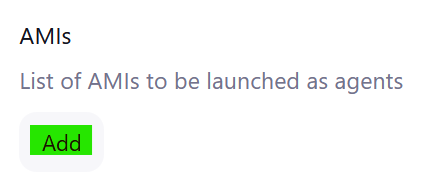
At the bottom of this click “Add” in the AMIs section.
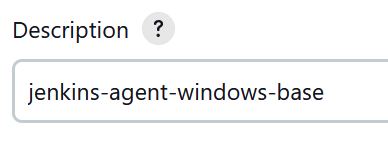
5. Give your new AMI a description.
6. Next, we need to find our Windows base AMI ID.
In the EC2 dashboard, in the AMI section, you should be able to see it in the second column.
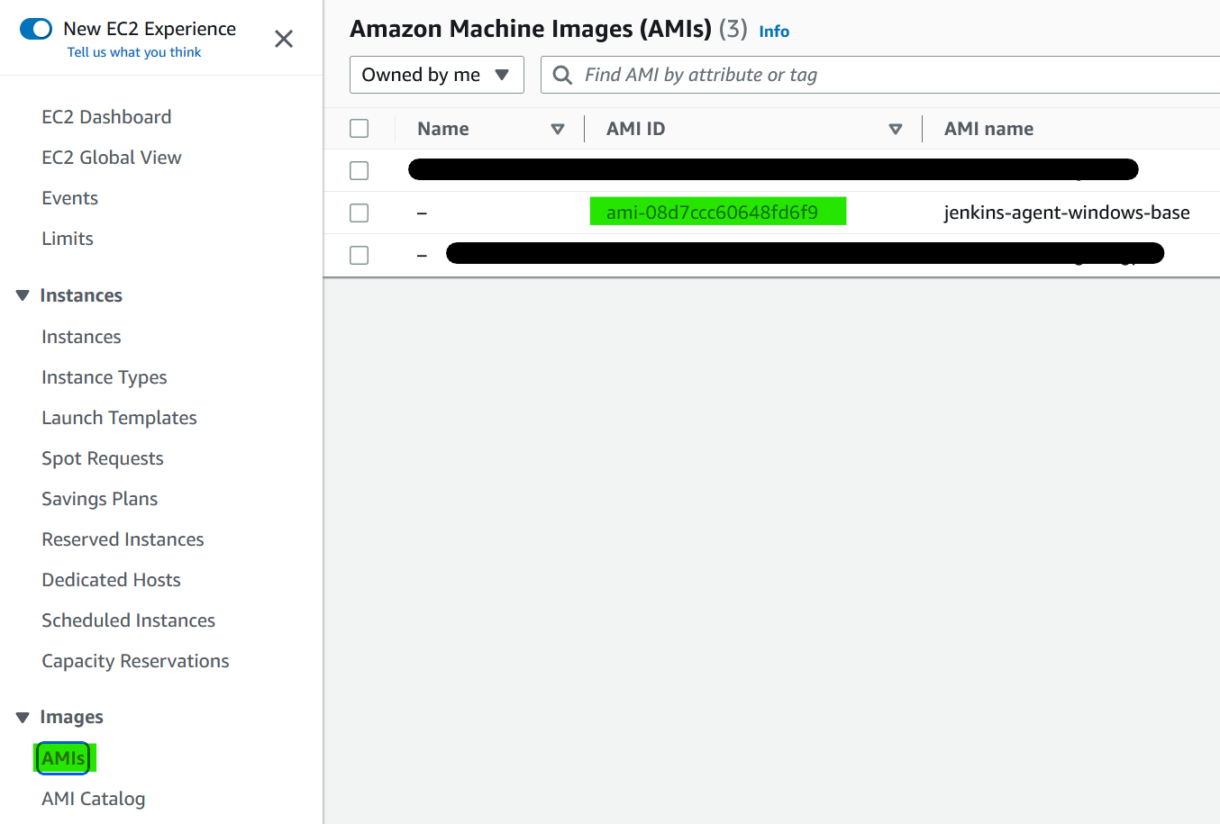
7. Add the AMI id and check it using the “Check AMI” button to see if it can be found.

8. Select the instance type you want to use when this AMI is launched.
9. Click on “EBS optimized”.

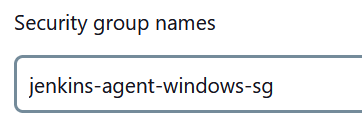
10. Next, we need to find the name of the security group we set up for the Jenkins agents.
In the EC2 portal, select “Security Groups” in the sidebar and click on the agents group.
There you should see the security group name.
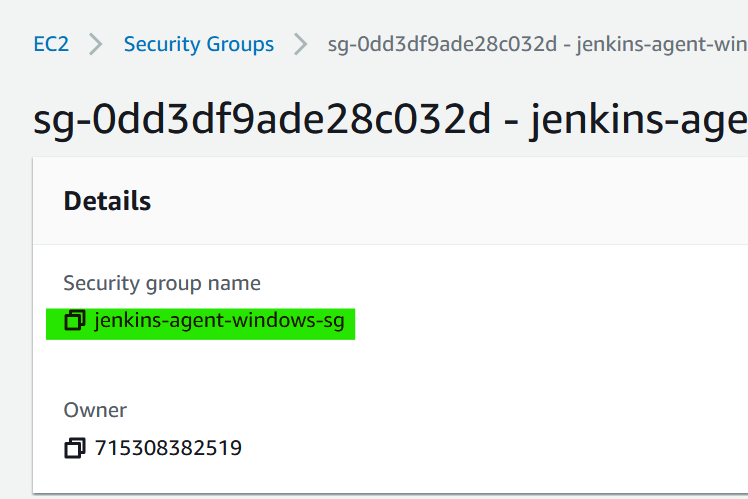
11. Add the security group name.
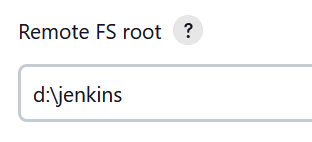
12. Add the remote file system root. This is where the Jenkins agent process will store all of its data. Since we set up a separate drive for this,use that directory.
You will have to remember which drive letter you chose, when creating the volume.
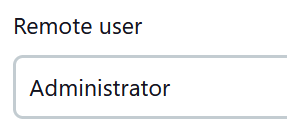
- Set the remote user to the Administrator user.
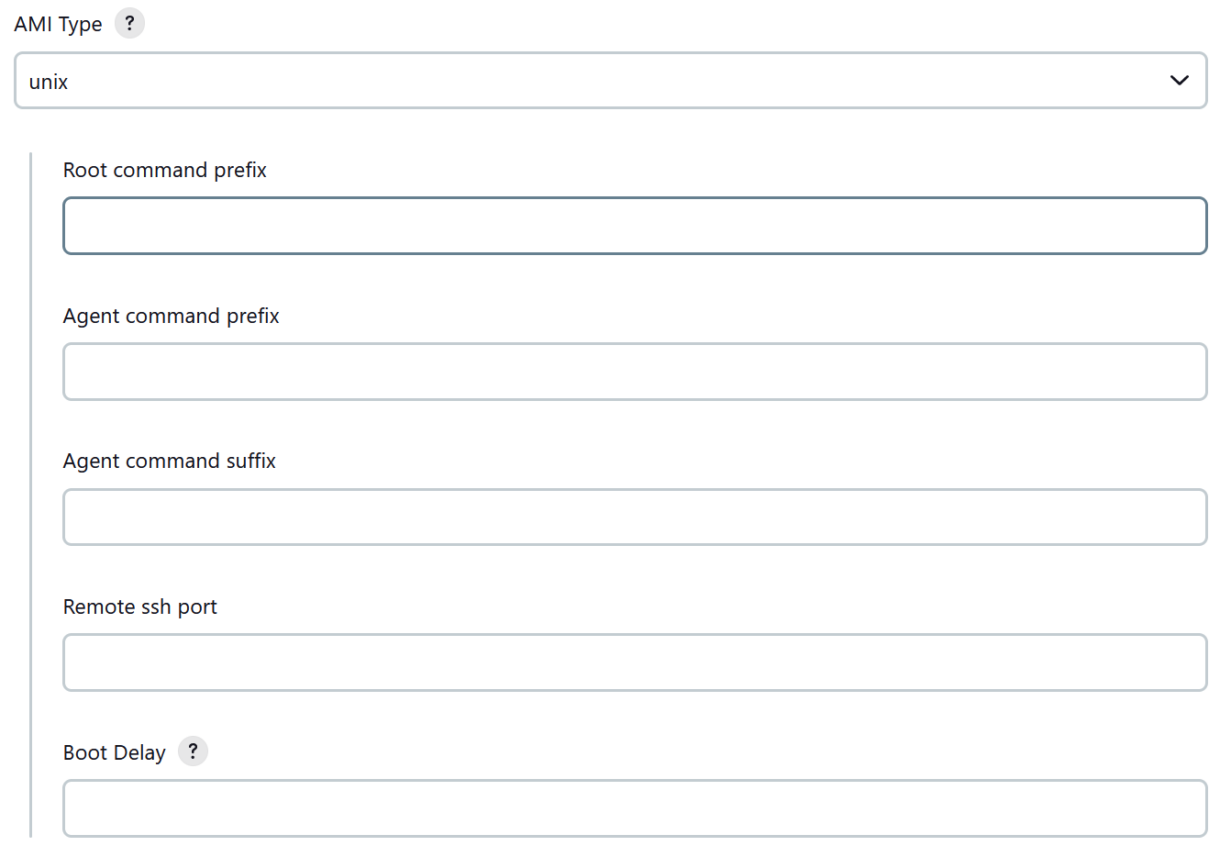
14. Set the AMI Type to “Unix”.
This can be confusing since we are configuring a Windows AMI.
In this case, the Unix type only determines that we are going to use SSH to connect to the agent.
You can leave all of the overrides blank.
Note
It is possible to use the Windows type and configure your Windows agents with WinRM.Having used both we recommend SSH as the better choice. The connection is generally quicker, easier to configure and more reliable.
15. Set the Label for the agent.
This is the name we will use in the Jenkins pipeline script for use with this specific agent.

16. Set the usage to only use the agent on request.

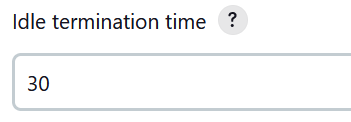
17. Set the idle termination time in minutes.
This sets the number of minutes to wait before terminating the EC2 agent instance if no builds are running.
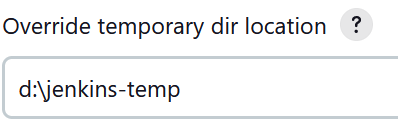
18. Open the advanced section and override the temporary dir location.
We need to do this since the default Unix path will not work on Windows.
19. Next, we need to configure the SSH key on the instance using User Data.
By default, Windows instances will not have the openssh-key configured. This means without manual configuration, we will not be able to connect to the instance using our private key credential.
The full user data looks like this:
version: 1.0
tasks:
- task: executeScript
  inputs:
  - frequency: once
    type: powershell
    runAs: localSystem
    content: |-
     # Solution from Stack Overflow: https://stackoverflow.com/a/75009915/21571816
     # Save the private key from instance metadata.
     $ImdsToken = (Invoke-WebRequest -Uri 'http://169.254.169.254/latest/api/token' -Method 'PUT' -Headers @{'X-aws-ec2-metadata-token-ttl-seconds' = 2160} -UseBasicParsing).Content
     $ImdsHeaders = @{'X-aws-ec2-metadata-token' = $ImdsToken}
     $AuthorizedKey = (Invoke-WebRequest -Uri 'http://169.254.169.254/latest/meta-data/public-keys/0/openssh-key' -Headers $ImdsHeaders -UseBasicParsing).Content
     $AuthorizedKeysPath = 'C:\ProgramData\ssh\administrators_authorized_keys'
     New-Item -Path $AuthorizedKeysPath -ItemType File -Value $AuthorizedKey -Force

     # Set appropriate permissions on administrators_authorized_keys by copying them from an existing key.
     Get-ACL C:\ProgramData\ssh\ssh_host_dsa_key | Set-ACL $AuthorizedKeysPath

     # Ensure the SSH agent pulls in the new key.
     Set-Service -Name ssh-agent -StartupType "Automatic"
     Restart-Service -Name ssh-agent
The User Data script will run once on the first boot cycle of the instance.
We provide a powershell script in the content section of the yaml. This script first grabs the openssh key from the IMDSv2 (Instance Meta Data Service). We then copy the key into a new This file holds authorized public keys that can connect to the instance using SSH.
We then modify the administrators_authorized_keys file permissions to be correct by matching the permissions of an already existing ssh file.
Then lastly, we restart the ssh client to make sure the new key is picked up.
You can read more about configuring SSH on Windows here.
20. Set the number of executors you want to be available on the agent.

21. Set the toggle that determines if the instance is terminated or stopped on Timeout.
This is up to personal preference depending on your use case.

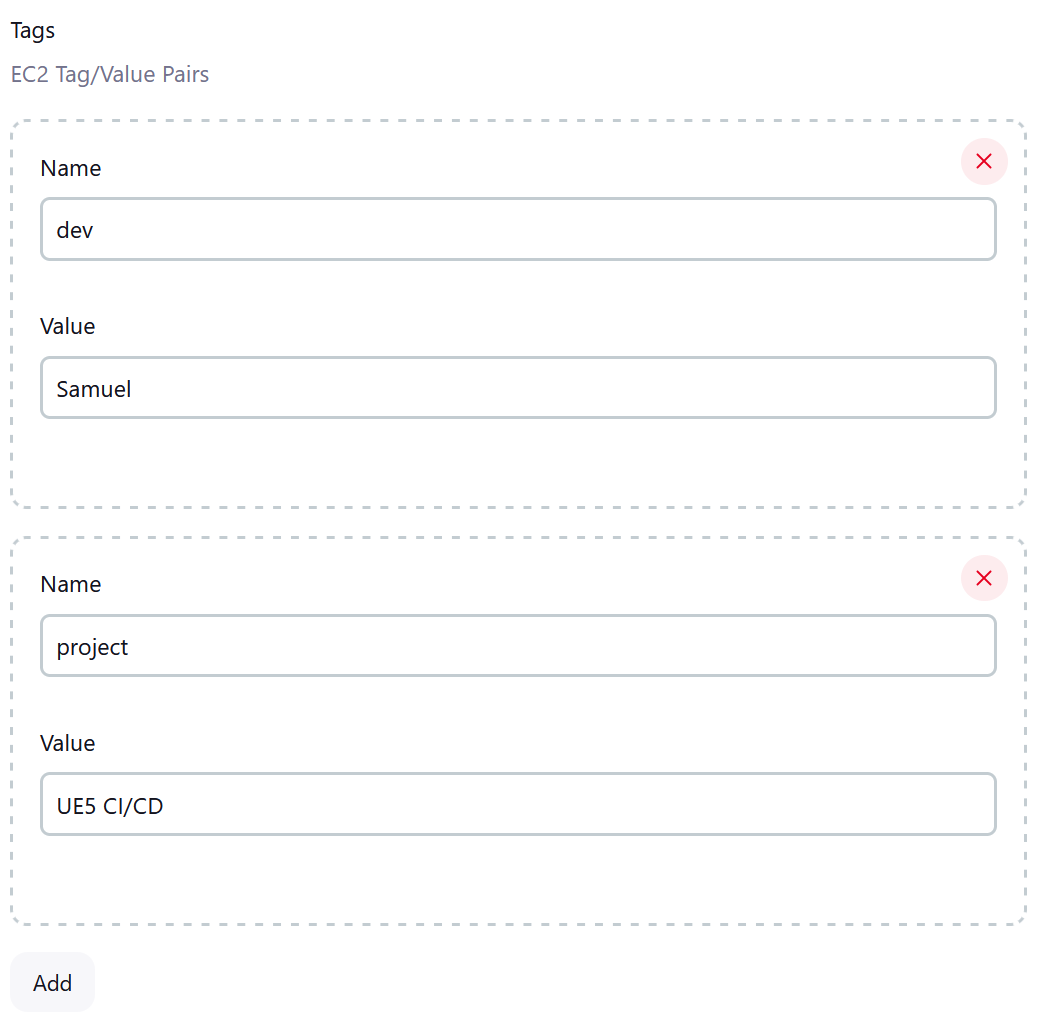
22. Add some tags on the instance.
23. Next, we need to find the IAM Instance Profile to assign to the launching instance. We want to assign the agent role to these instances.
In the IAM portal, under roles in the sidebar, click on the Jenkins agent role we created.
At the top, copy the Instance profile ARN.

24. Back on your Jenkins dashboard, set the IAM Instance Profile.

25. Set the launch timeout on.
This dictates how long Jenkins waits before it abandons the attempt to connect to the agent.

26. Set the “Host Key Verification Strategy” field to ”accept-new”.

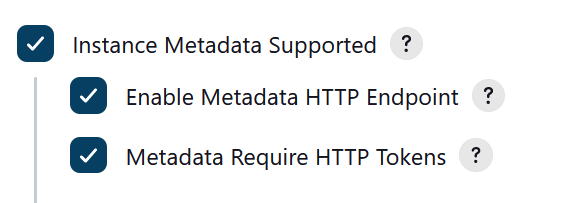
27. Lastly, configure the Metadata settings to match the picture below.
28. Then hit Save.
Testing The Base AMI
Let’s ensure the AMI is working as expected.
We will create a new pipeline job and copy a new pipeline script into it. We will create this pipeline script below.
Make sure to replace the agent label with the label you assigned your AMI agent.
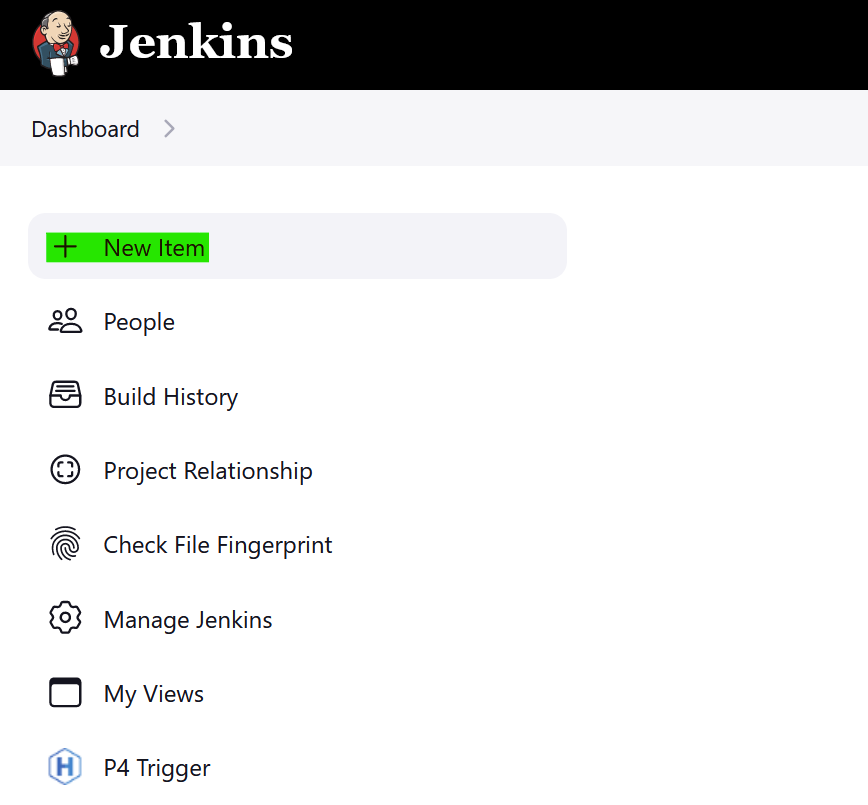
1. Click on “New Item” in the Jenkins Dashboard.
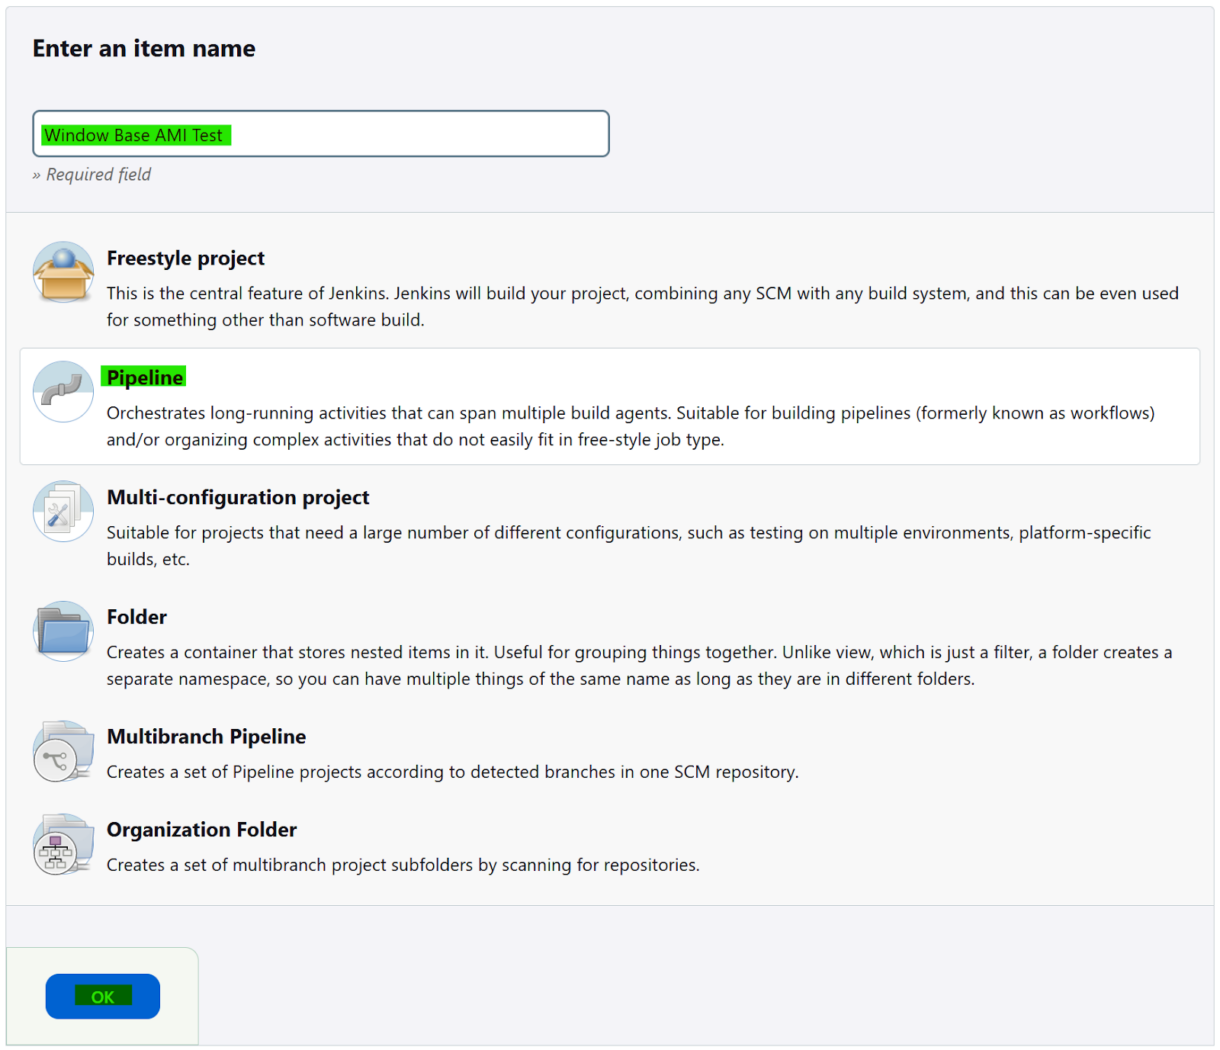
2. Name the Item, select Pipeline and click on “OK”.
3. Head straight to the bottom of the page and insert the following pipeline script.
Make sure that the agent label at the top of the script is an exact match with the label we gave the Windows base AMI in the cloud setup.
You can then click “Save”.
pipeline {
   agent {
       label 'windows-base'
   }

   stages {
       stage('Hello') {
           steps {
               echo 'Hello from a remote agent'
           }
       }

       stage('Powershell') {
           steps {
               powershell 'hostname'
           }
       }

       stage('Java Version') {
           steps {
               powershell 'java --version'
           }
       }
   }
}
This job will search Jenkins for an agent with the label ‘windows-base’.
If no agents are found, our cloud will launch one for it to use.
Once that agent is connected to the controller, our job will be run on it.
First, it will write a simple “hello” message to the output, next it will run a PowerShell command and finally print the Java version.
On the homepage of your Jenkins portal you’ll see the remote agent launching.

You can click on it and view the agents launching logs.
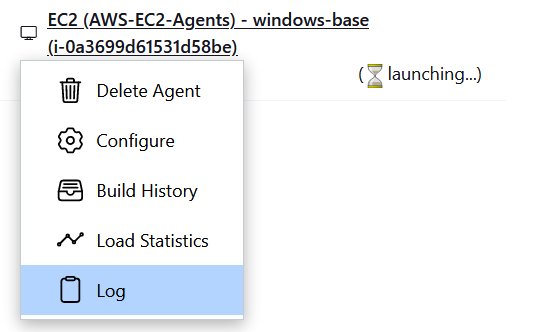
There you’ll see the controller attempting to connect to the agent using our jenkins-controller-key-pair.
Note
It might fail a few times before finally connecting. This is due to the User Data script needing some time to run fully. Before then, our SSH credential will not be allowed access.
Finally, you will see the Jenkins agent being bootstrapped.
Here is an abridged version of our launching logs:
INFO: Authenticating as Administrator
INFO: Connecting to 172.31.38.149 on port 22, with timeout 10000.
INFO: Connection allowed after the host key has been verified
INFO: Connected via SSH.
INFO: connect fresh as root
INFO: Connecting to 172.31.38.149 on port 22, with timeout 10000.
INFO: Connection allowed after the host key has been verified
INFO: Connected via SSH.
INFO: Creating tmp directory (d:\jenkins-temp) if it does not exist
INFO: Verifying: java -fullversion
java full version "17.0.9+11-LTS-201"
INFO: Verifying: which scp
which : The term 'which' is not recognized as the name of a cmdlet, function, script file, or
operable program. Check the spelling of the name, or if a path was included, verify that the path
is correct and try again.
At line:1 char:1
+ which scp
+ ~~~~~
        + CategoryInfo              : ObjectNotFound: (which:String) [], CommandNotFoundException
        + FullyQualifiedErrorId : CommandNotFoundException

INFO: Installing: sudo yum install -y openssh-clients
sudo : The term 'sudo' is not recognized as the name of a cmdlet, function, script file, or
operable program. Check the spelling of the name, or if a path was included, verify that the path
is correct and try again.
At line:1 char:1
+ sudo yum install -y openssh-clients
+ ~~~~
        + CategoryInfo              : ObjectNotFound: (sudo:String) [], CommandNotFoundException
        + FullyQualifiedErrorId : CommandNotFoundException

WARNING: Failed to install: sudo yum install -y openssh-clients
INFO: Copying remoting.jar to: d:\jenkins-temp
INFO: Launching remoting agent (via Trilead SSH2 Connection):  java  -jar d:\jenkins-temp/remoting.jar -workDir d:\jenkins
<===[JENKINS REMOTING CAPACITY]===>Remoting version: 3131.vf2b_b_798b_ce99
Launcher: EC2UnixLauncher
Communication Protocol: Standard in/out
This is a Windows agent
Agent successfully connected and online
When the job has finished running, you should see logs like this on the build job.
Started by user Samuel Hegner
[Pipeline] Start of Pipeline
[Pipeline] node
Running on EC2 (amazon-ec2-cloud) - jenkins-agent-windows-base (i-0357c230551a12017) in d:\jenkins\workspace\Window Base AMI Test
[Pipeline] {
[Pipeline] stage
[Pipeline] { (Hello)
[Pipeline] echo
Hello from a remote agent
[Pipeline] }
[Pipeline] // stage
[Pipeline] stage
[Pipeline] { (Powershell)
[Pipeline] powershell
EC2AMAZ-CB5G044
[Pipeline] }
[Pipeline] // stage
[Pipeline] stage
[Pipeline] { (Java Version)
[Pipeline] powershell
java 17.0.9 2023-10-17 LTS
Java(TM) SE Runtime Environment (build 17.0.9+11-LTS-201)
Java HotSpot(TM) 64-Bit Server VM (build 17.0.9+11-LTS-201, mixed mode, sharing)
[Pipeline] }
[Pipeline] // stage
[Pipeline] }
[Pipeline] // node
[Pipeline] End of Pipeline
Finished: SUCCESS
Congratulations, you’ve set up and ran your first Jenkins job entirely on AWS using EC2 agents!
From here on, you can use the Base-Image to create more elaborate images including UE5, Visual Studio and more.
Summary
In this section we created the AMI for our base-windows instances. Later on we will be able to launch these instances from Jenkins on-demand to execute our builds.
In the next section we will set up the Unreal Engine from source and create AMIs from that instance so we can start running builds for UE5 project specifically.
