Professional License Pipeline Setup
Professional license builds are almost ready to go if you are following on from the initial setup.
We just have to add the buildspec file and your unity credentials now.
Adding BuildSpec File
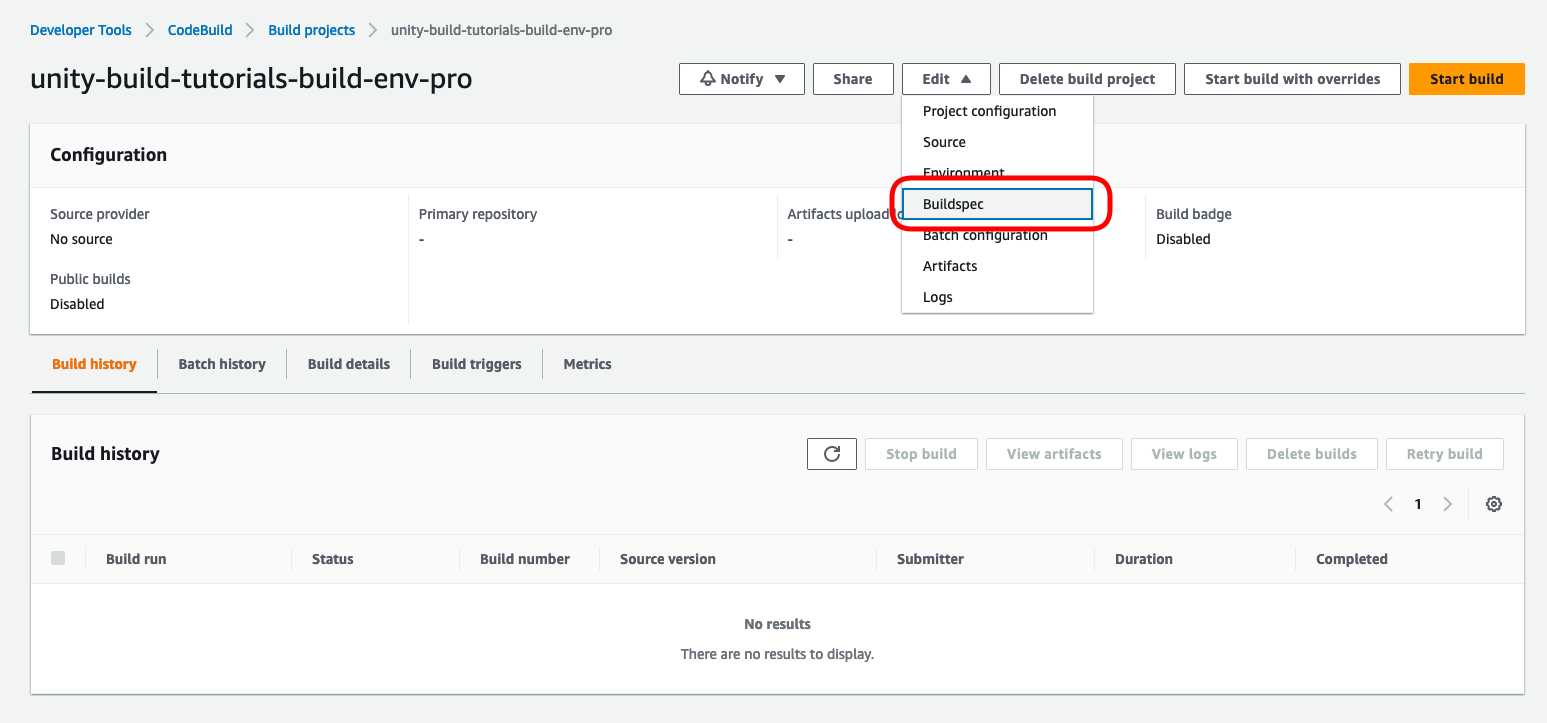
Navigate to your build-environment project and select it. This should bring up the details of your project. In order to add or edit the buildspec you can click on the “Edit” dropdown menu and then the “Buildspec” option.
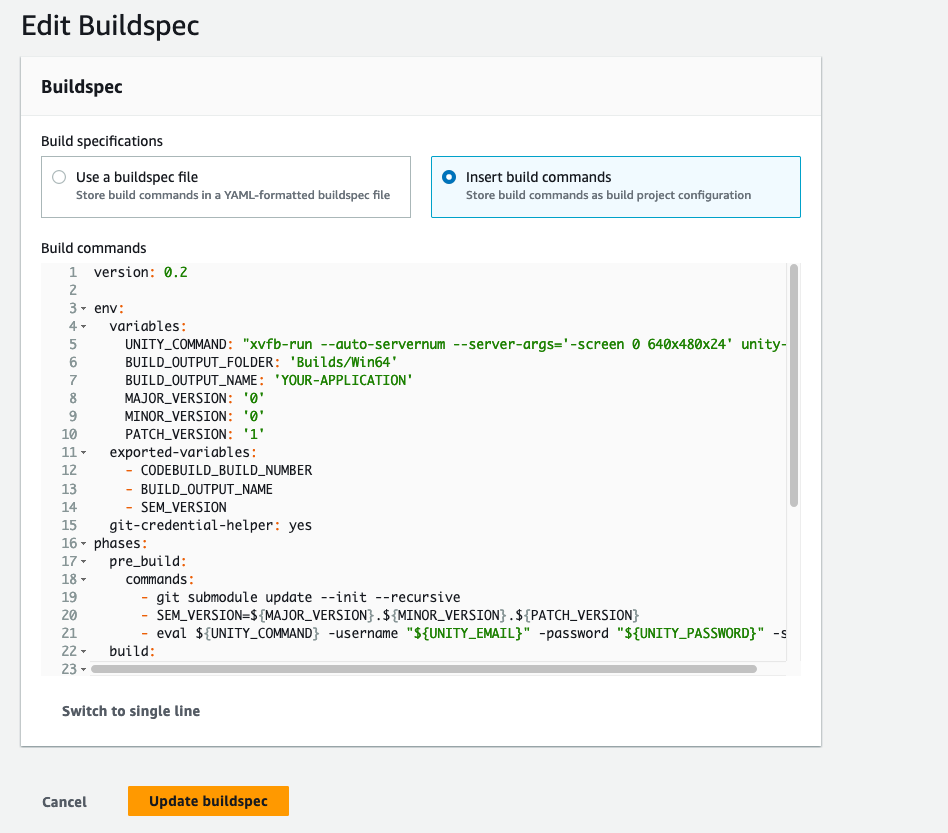
Insert the following buildspec file and click on “Update buildspec”.
version: 0.2
env:
variables:
UNITY_COMMAND: "xvfb-run --auto-servernum --server-args='-screen 0 640x480x24' unity-editor -batchmode -nographics -logfile /dev/stdout -quit"
BUILD_OUTPUT_FOLDER: 'Builds/Win64'
BUILD_OUTPUT_NAME: 'unity-build-demo'
MAJOR_VERSION: '0'
MINOR_VERSION: '0'
PATCH_VERSION: '1'
exported-variables:
- CODEBUILD_BUILD_NUMBER
- BUILD_OUTPUT_NAME
- SEM_VERSION
phases:
pre_build:
commands:
- SEM_VERSION=${MAJOR_VERSION}.${MINOR_VERSION}.${PATCH_VERSION}
- eval ${UNITY_COMMAND} -username "${UNITY_EMAIL}" -password "${UNITY_PASSWORD}" -serial "${UNITY_SERIAL}"
build:
commands:
- eval ${UNITY_COMMAND} -projectPath='.' -buildWindows64Player '${BUILD_OUTPUT_FOLDER}/${BUILD_OUTPUT_NAME}'
post_build:
commands:
- eval ${UNITY_COMMAND} -returnLicense
artifacts:
files:
- '**/*'
base-directory: ${BUILD_OUTPUT_FOLDER}
cache:
paths:
- 'Library/**/*'
Set the following parameters to what you want in your own project.
- BUILD_OUTPUT_NAME:
- MAJOR_VERSION:
- MINOR_VERSION:
- PATCH_VERSION:
Thanks to Micheal Sanders for an excellent tutorial where this buildspec can be seen.
You can view Micheal’s article here.
Adding Unity Credentials
Next we need to update the Unity credentials we added to the build project.
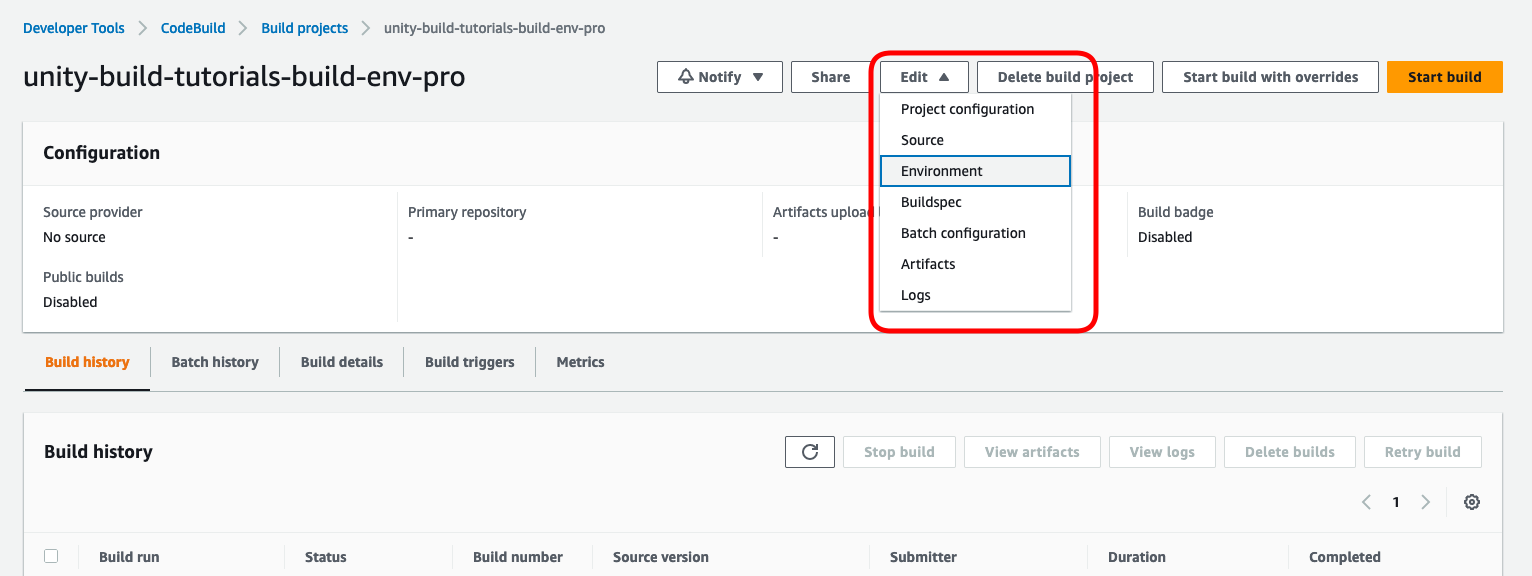
To do this select the “Edit” dropdown and choose “Environment”.
Click on the “Additional configuration” menu to get the environment variables option. In the previous setup you should have added the UNITY_EMAIL, UNITY_PASSWORD and UNITY_SERIAL variables. You now need to add the correct details for your Unity professional license account. Click on the “Update environment” button at the bottom of the page.
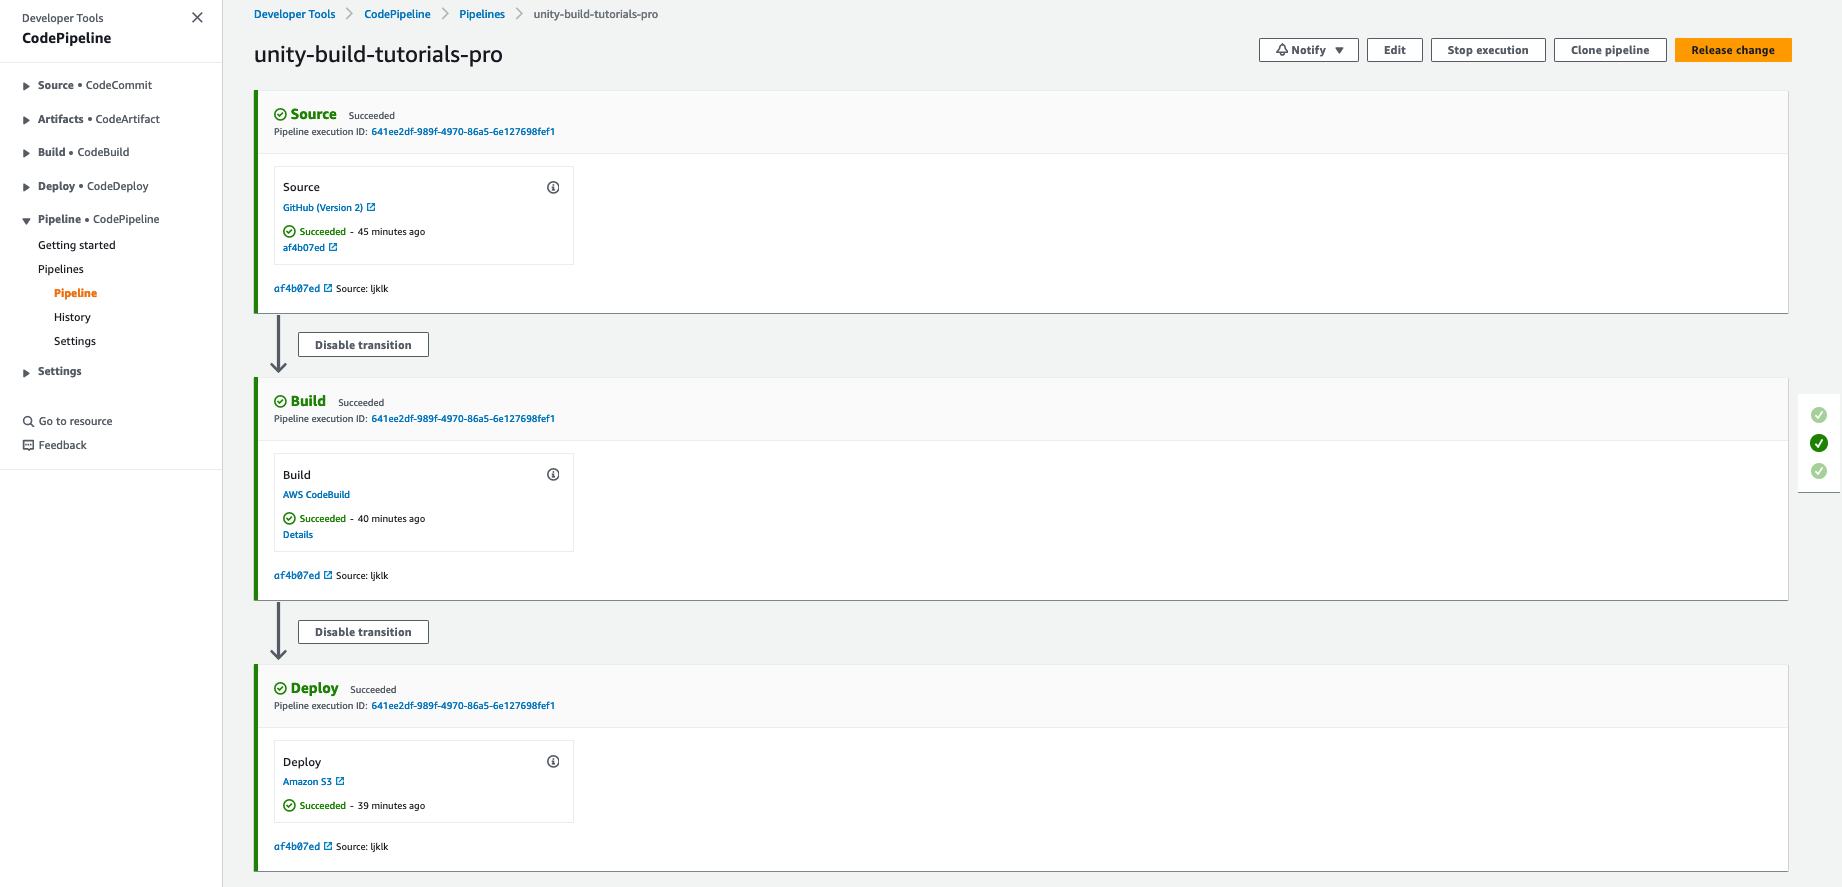
If you now return to your pipeline and click on the “Release change” button, you will see your pipeline get kicked off again and this time you should see it complete and deploy without issues.
Summary
Now we have everything we need to be able to run out automated builds using Unity3D professional licenses using AWS CodePipeline.
In the next section we are going to briefly look at what we can do with these build artifacts and how we can distribute them to your team or to testers.