Basic Pipeline Setup
In the previous section we went through the set up of all the components needed to kick off a Unity3D build using AWS CodePipeline.
In this section we are going to complete this pipeline by adding some of the basic components we need to start building our project.
Basic Pipeline Setup
Now we are going to create our basic pipeline.
We are going to modify this pipeline a lot throughout this guide, but a basic setup will allow us to add components as needed later.
We are going to use AWS CodePipeline for our pipeline configuration. CodePipeline allows us to quickly configure stages and environments in our build pipeline using integrations with other AWS components (such as the output S3 bucket we created in the previous step).
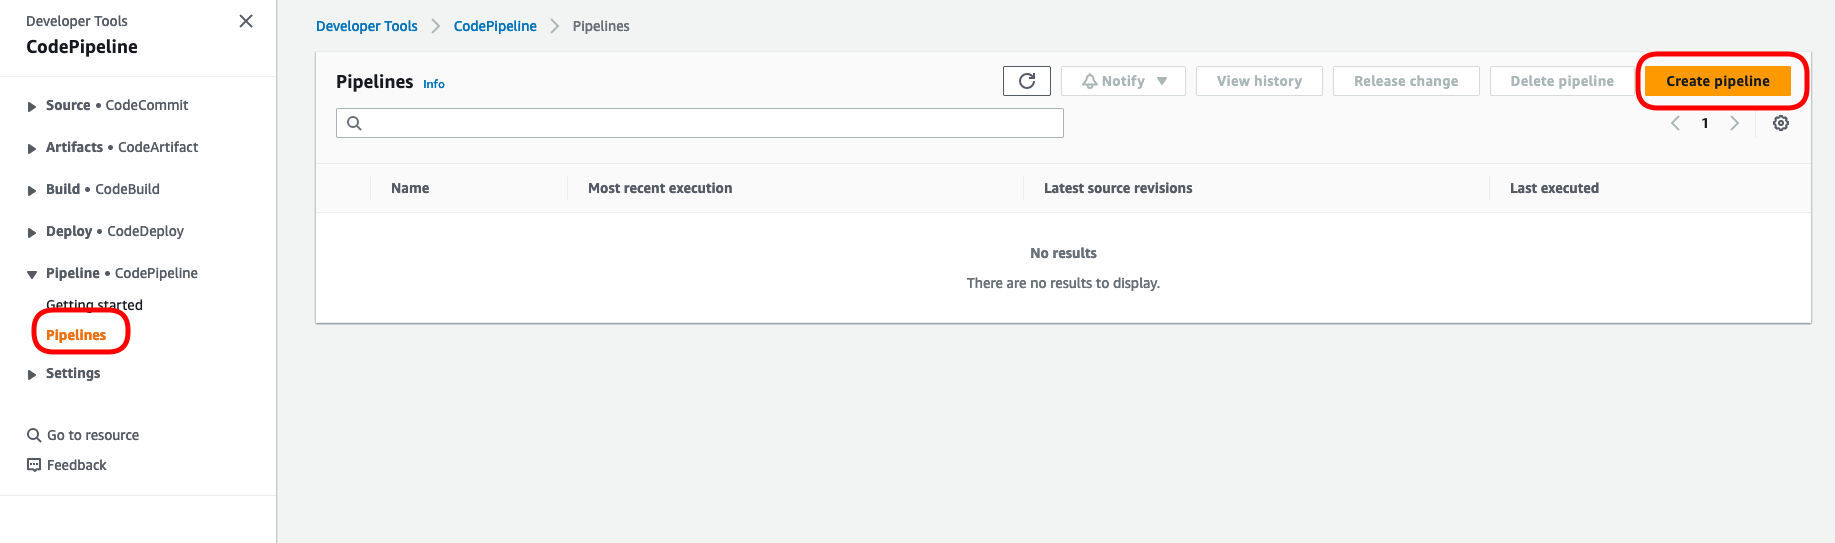
Navigate to the CodePipeline dashboard in your AWS account and click on the “Pipelines” menu on the left-hand-side menu. Click on the “Create Pipeline” button.
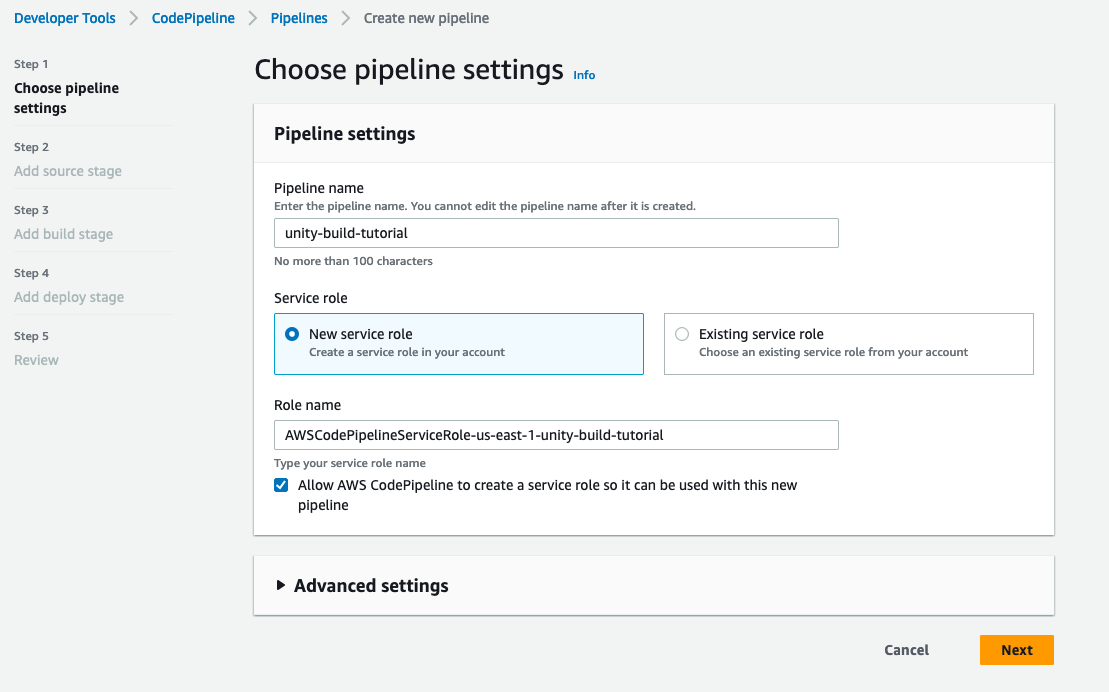
Give your pipeline a name but you can keep the rest of the options as they are.
Click on the “Next” button.
Add Source
Next we will need to set up a new “source” for your build-content.
This would generally be your repository so we are going to set this up for Github to keep things simple.
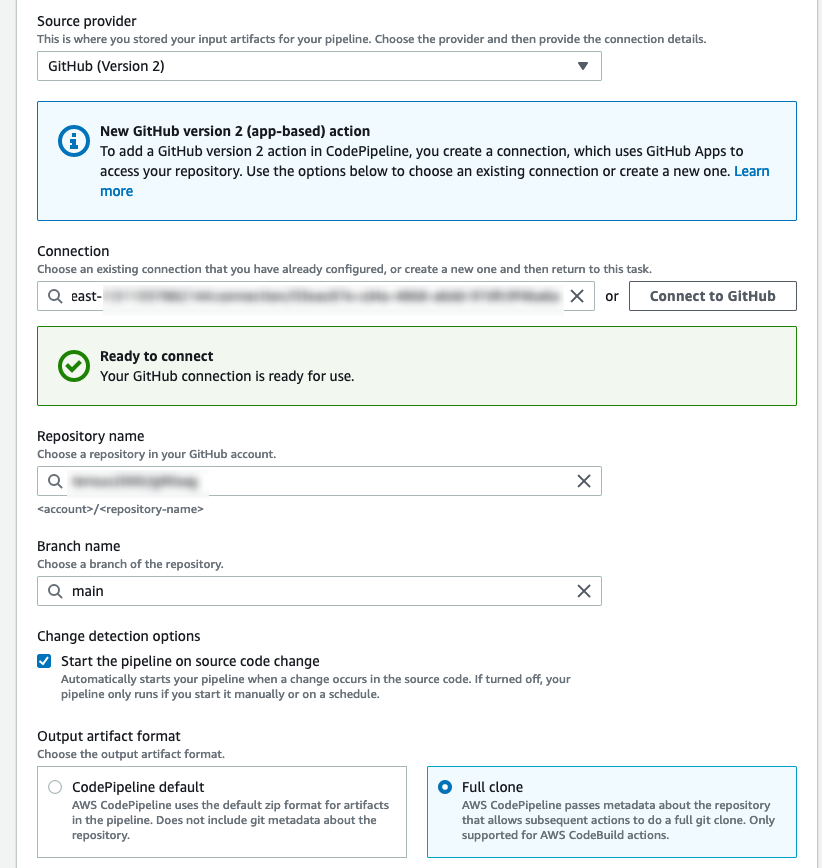
Select “Github Version 2” from the drop-down menu.
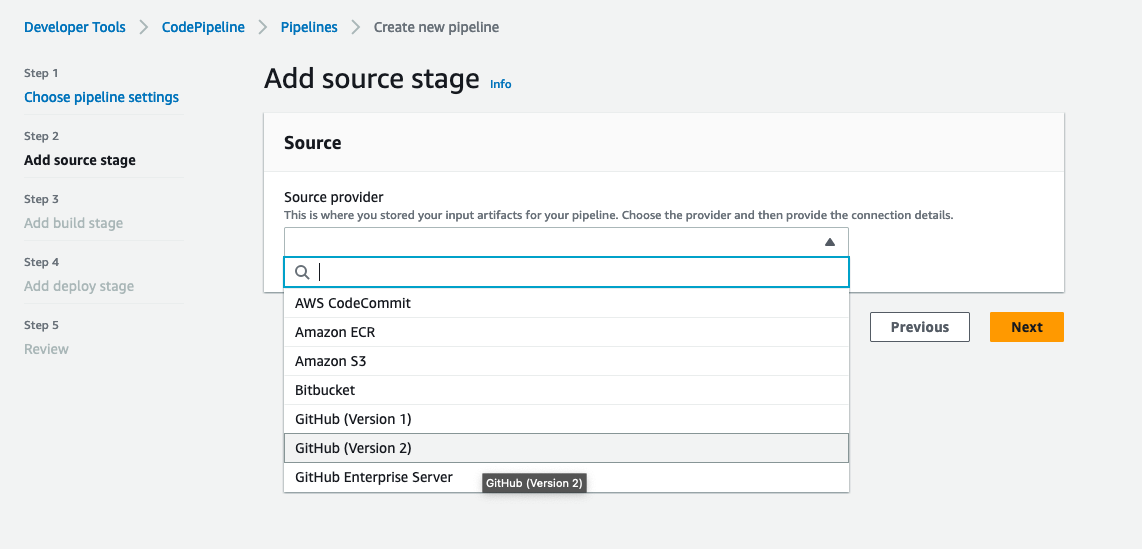
Options for the connection details will appear below the drop-down.
In the “Connection” field search for the GitHub connection we created in the previous step.
Select your repository and the branch you want to pull from.
Finally, select “Full Clone” as the “Output artifact format” and click on the “Next” button.
Note
You can disable the “Start the pipeline on source code change” option if you wish.Leaving this enabled will trigger builds anytime there is a code commit to the branch you specify above.
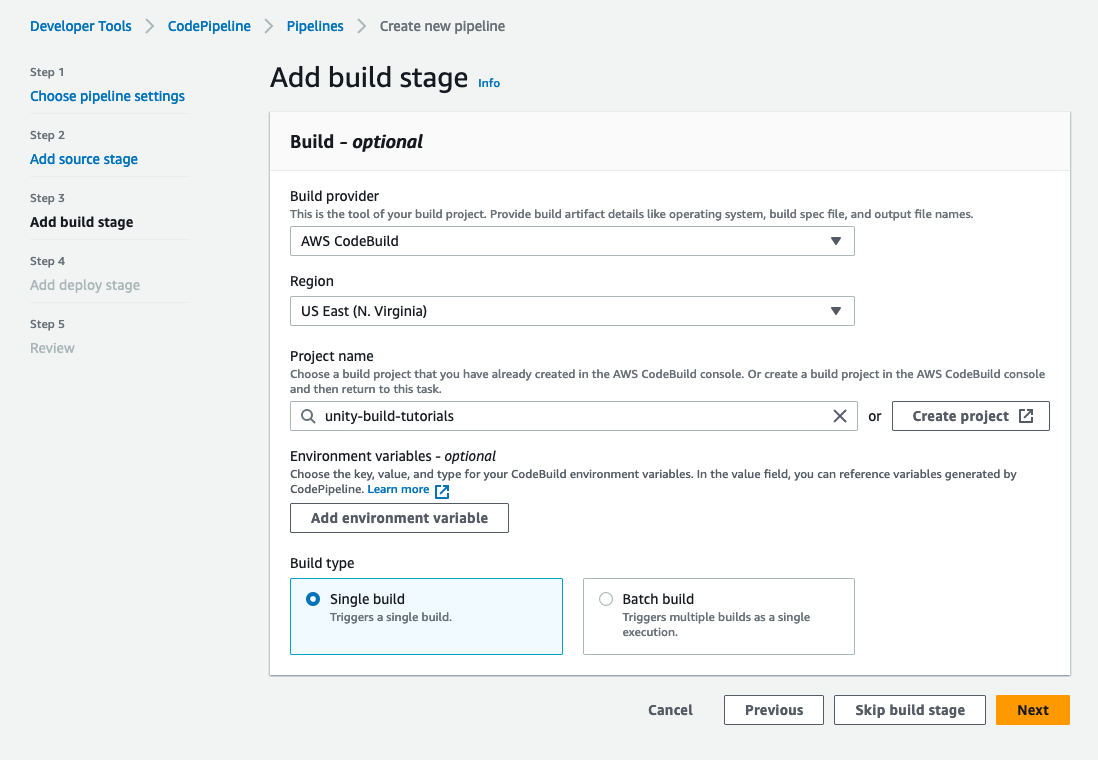
Add Build Stage
In the next page, select AWS CodeBuild as the build provider.
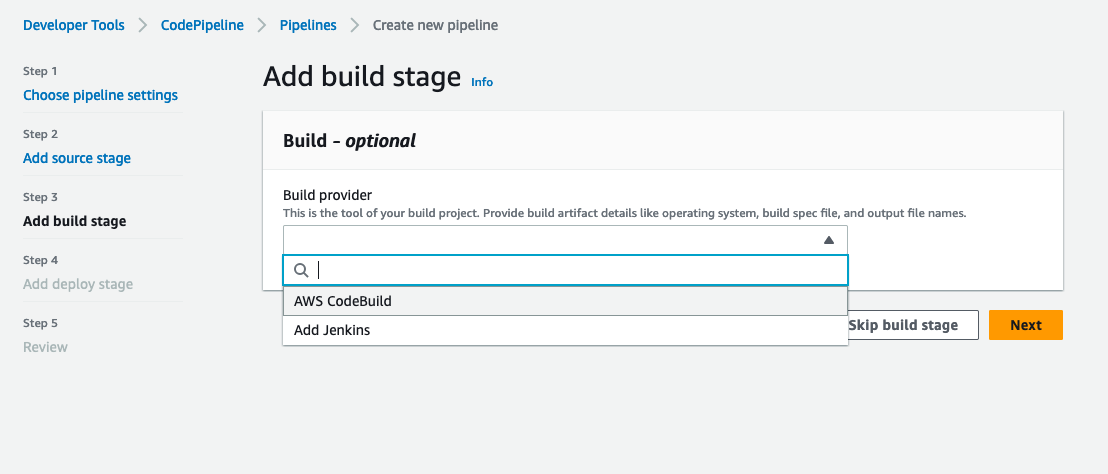
You should be able to find the build project we created early from the search list.
Keep all other options as they are and click the “Next” button.
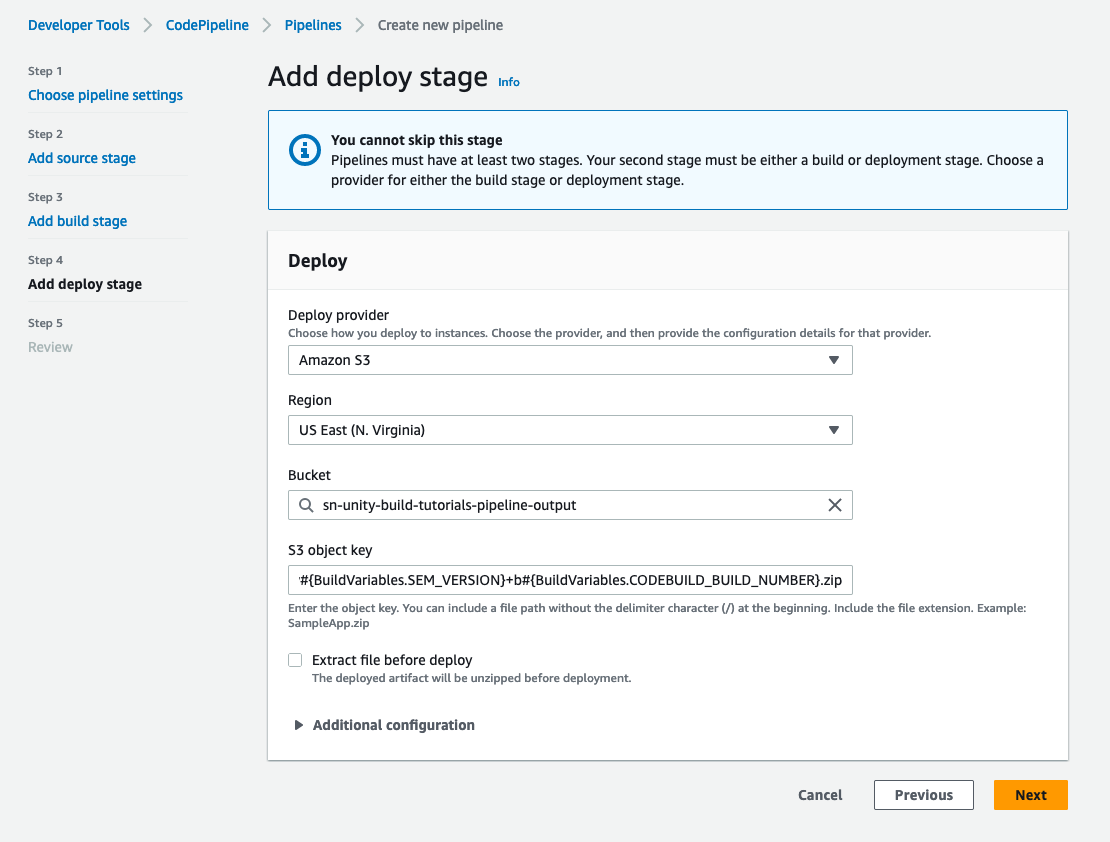
Add Deploy Stage
This step is simple. Choose “S3” as the deploy provider and then select the bucket you made in the previous step. Set your S3 object key. This is the name of the file once builds are completed.
We can hard-code the name of an output zip here or we can make something more dynamic which we will get from the buildspec.
Remember that we haven’t set up our buildspec properly yet, that will come later.
Add the following line in for the S3 object key#{BuildVariables.BUILD_OUTPUT_NAME}/#{BuildVariables.BUILD_OUTPUT_NAME}-v#{BuildVariables.SEM_VERSION}+b#{BuildVariables.CODEBUILD_BUILD_NUMBER}.zip
Review your pipeline details and then click on the “Create pipeline” button at the bottom of the page.
The page will reload and bring you directly to your project’s first build attempt.
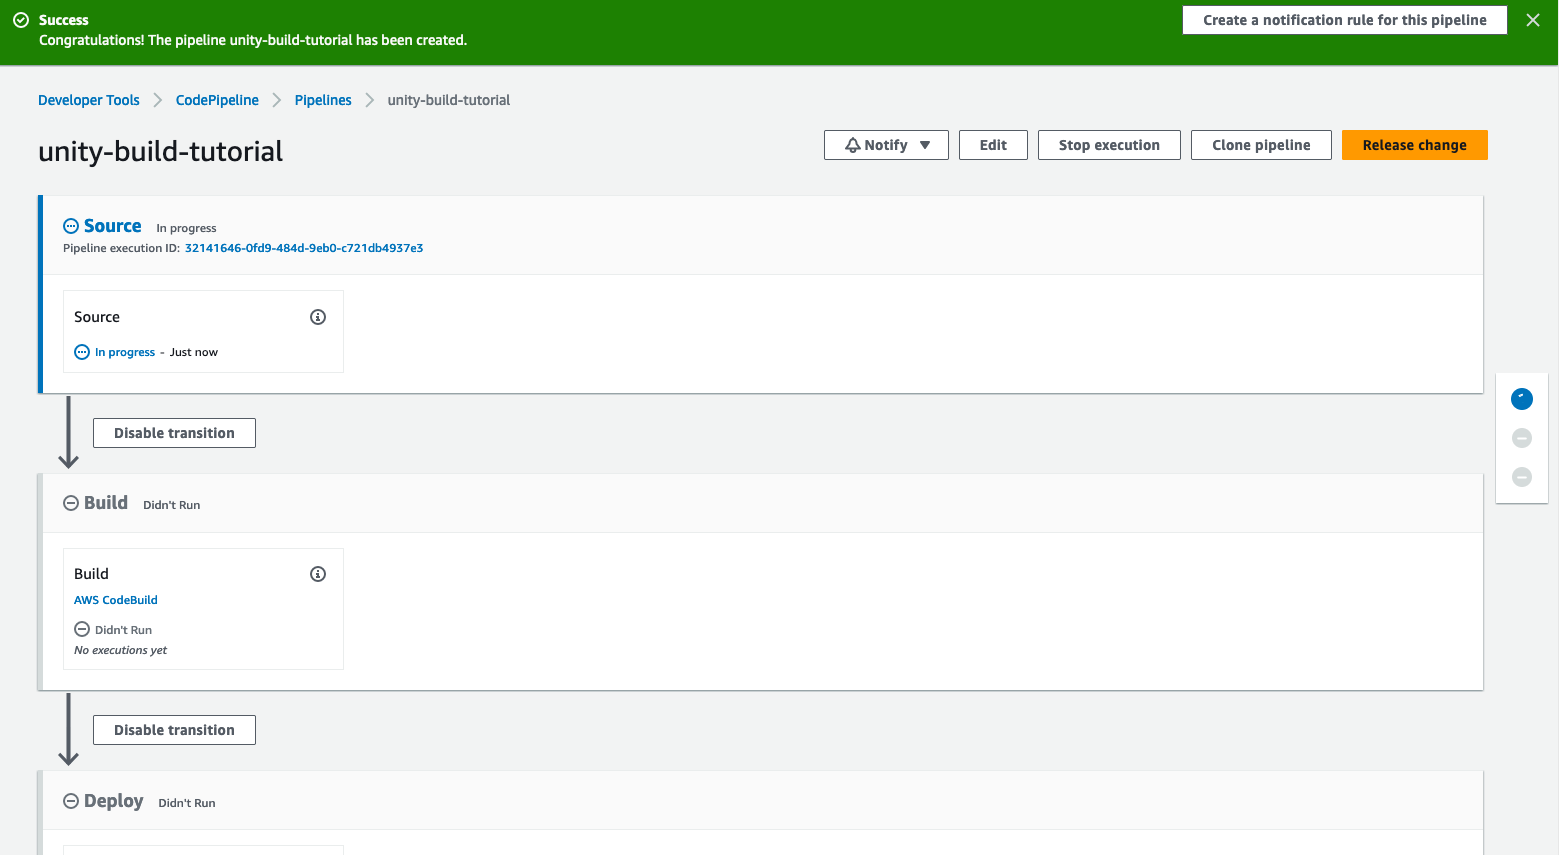
This can be exciting but sorry to disappoint; your first build will likely fail.
However, you should at least get past the Source stage as shown below.
But our pipeline is at least created so from here we can work on other components and add them to our pipeline.
Adding IAM Permission Policy
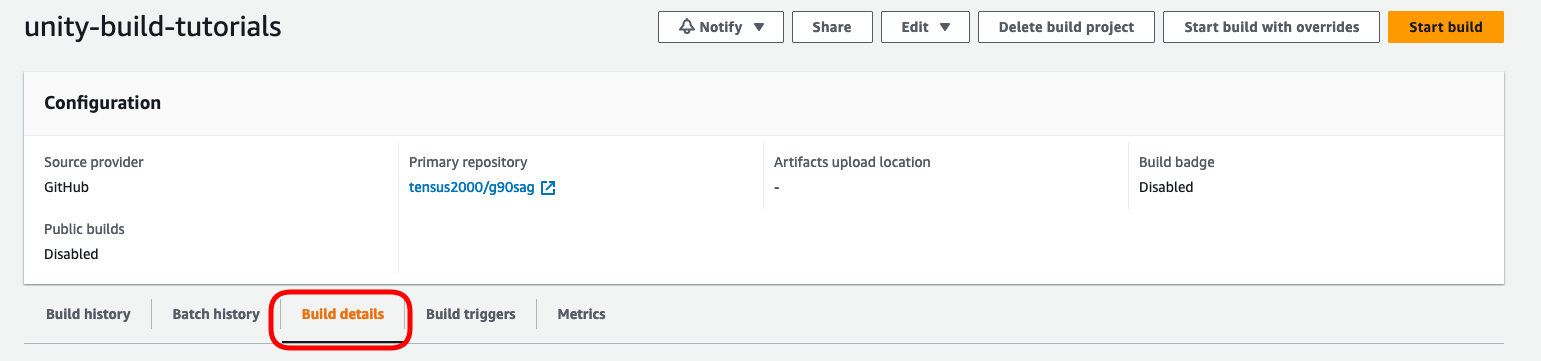
The final part of this initial setup requires us to grant permissions to our CodeBuild project to access the repo we linked earlier. To do this, go back to the “build project” menu option in the CodePipeline service dashboard. Select your project and then click on the “Build details” tab.
Scroll down to the Environment section and click on the “Service Role” section. This should open up a new window where you can edit this service role.
Click on the “Add permissions” button.
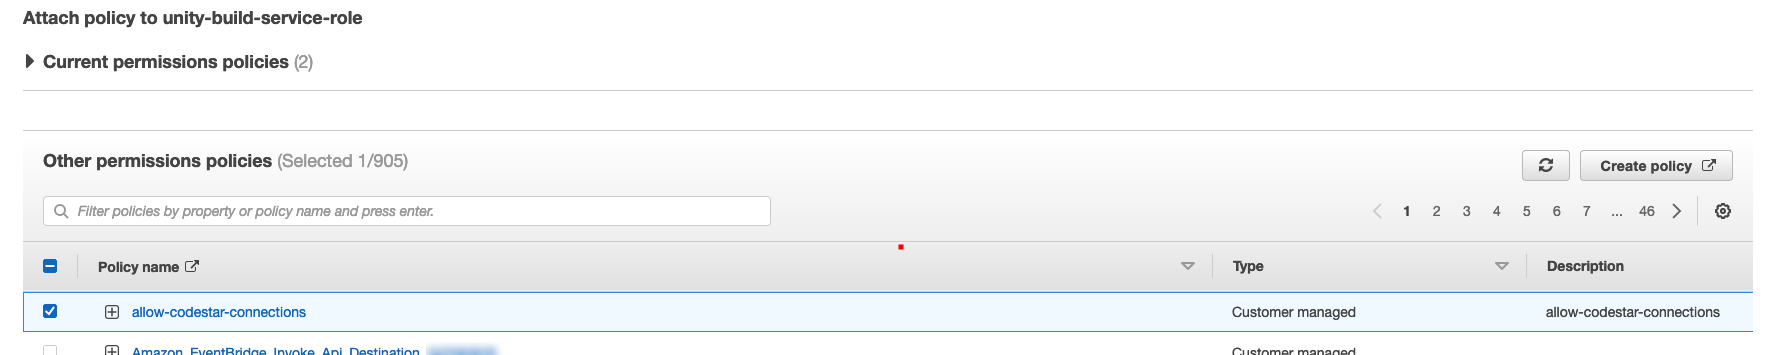
Select the policy we created earlier and scroll down so that you can click on the “Add permissions” button.
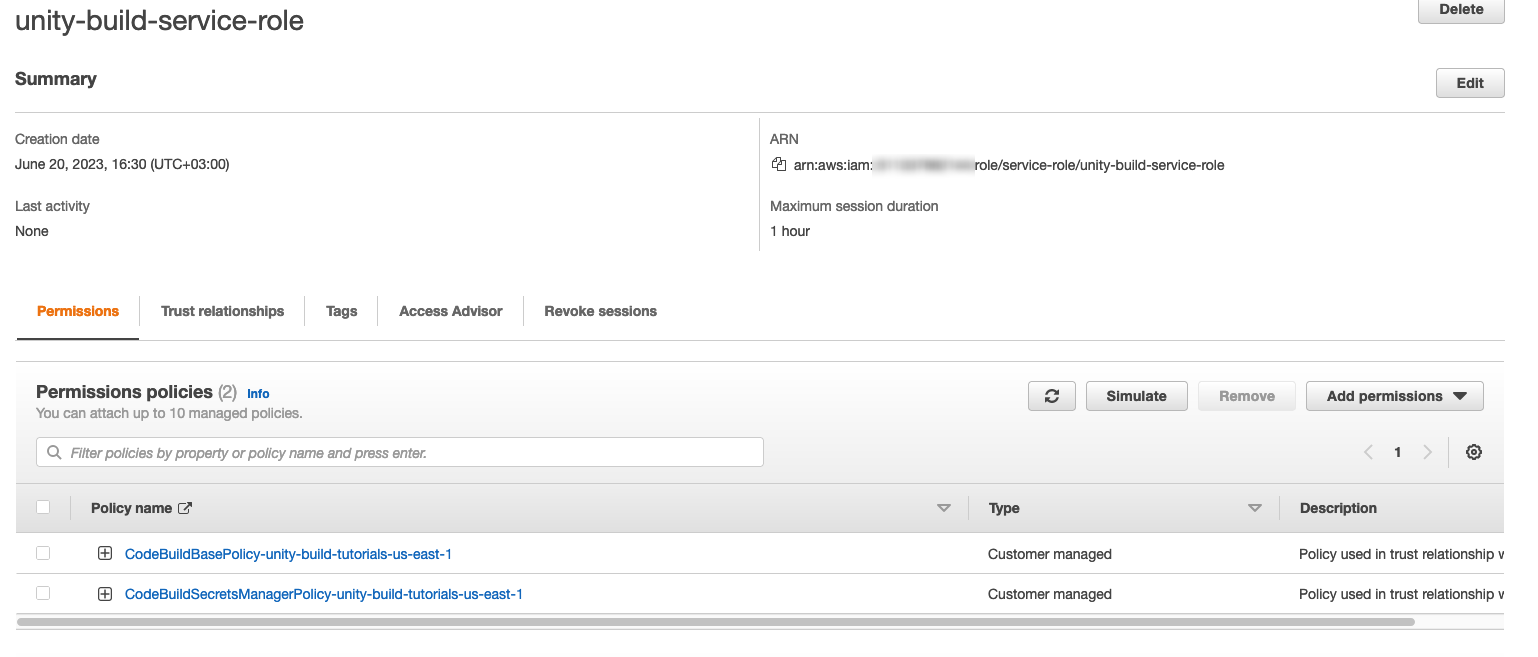
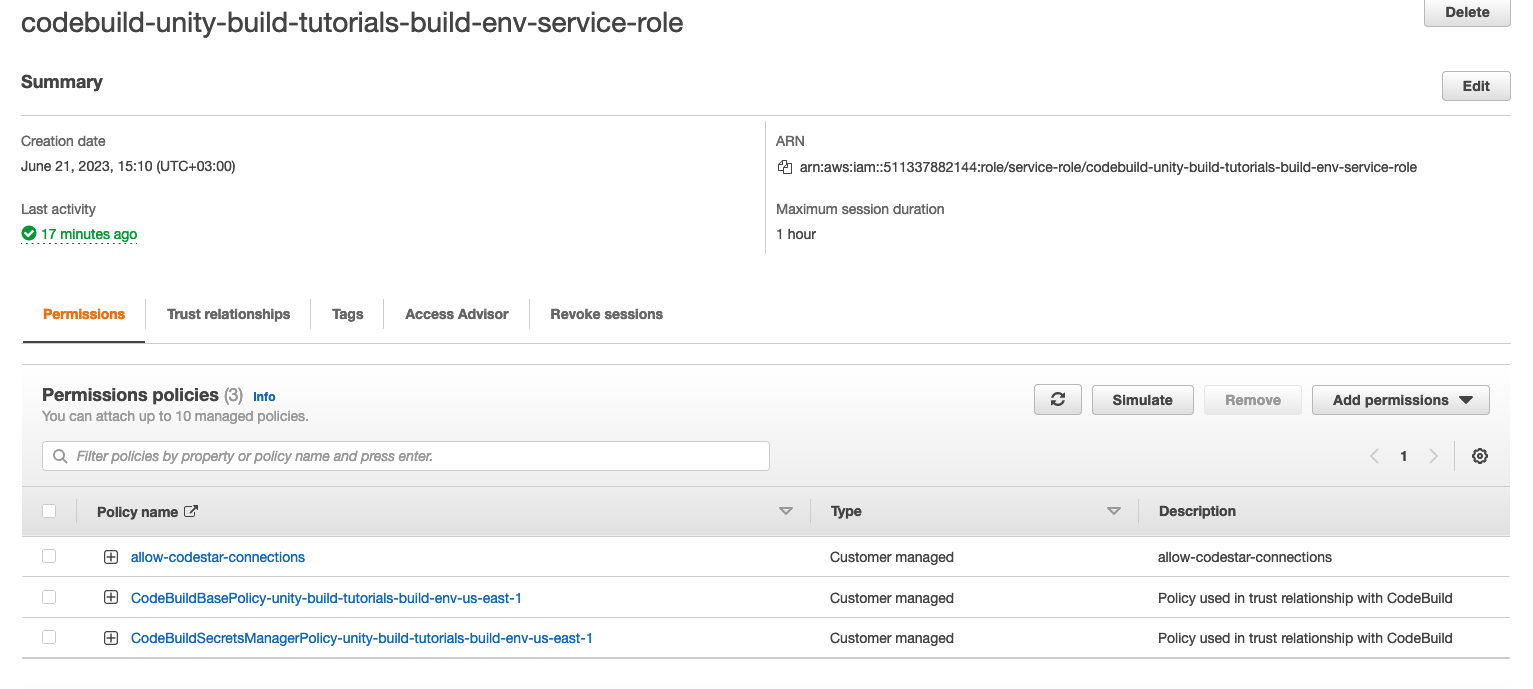
If the policy was added correctly you should see confirmation when the page reloads.
You should now see this policy added to the list on the role.
Debugging Build Failures
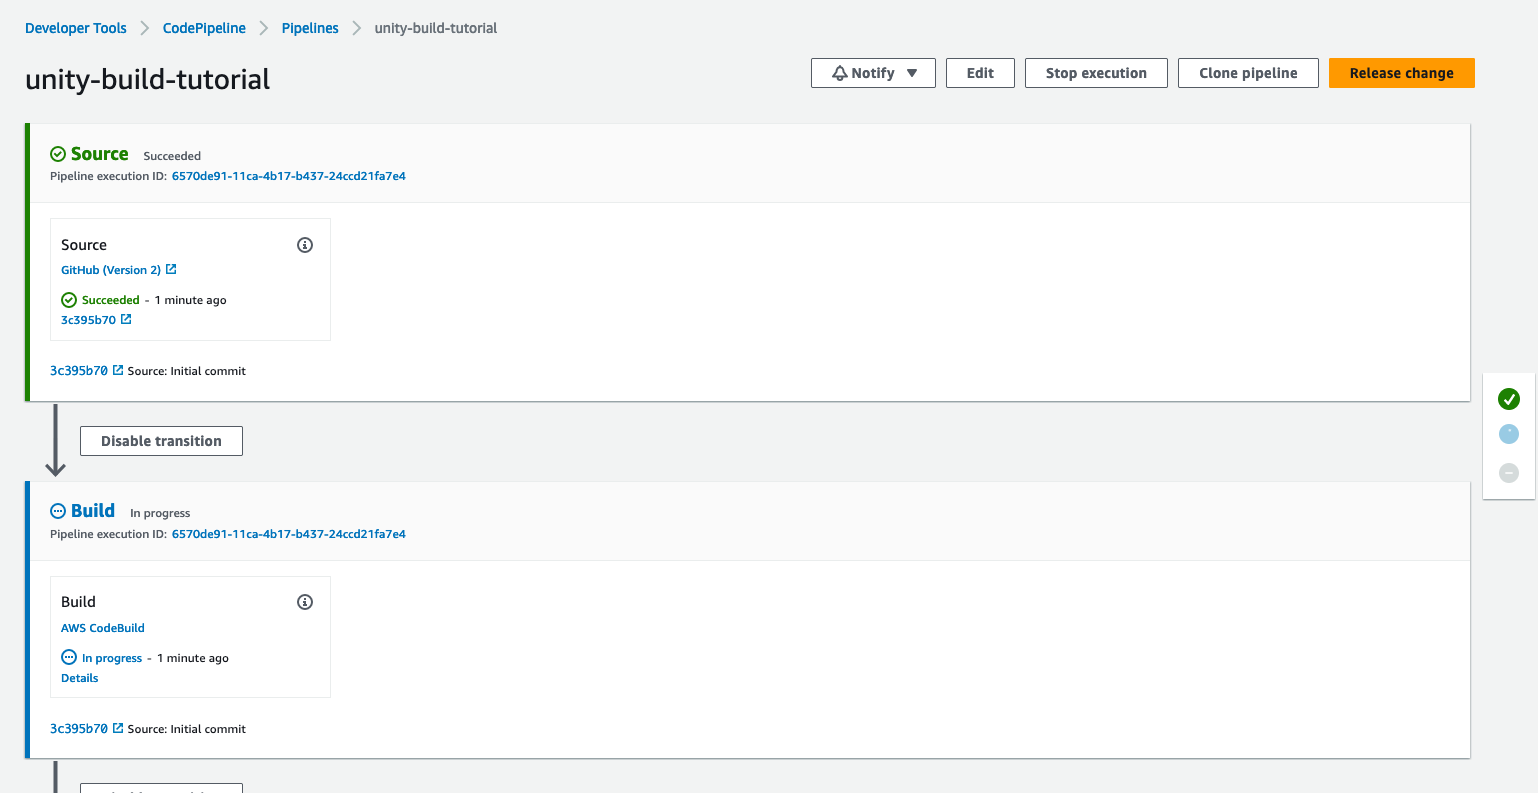
Now that our build project can be read from the GitHub repo we need to restart the build again.
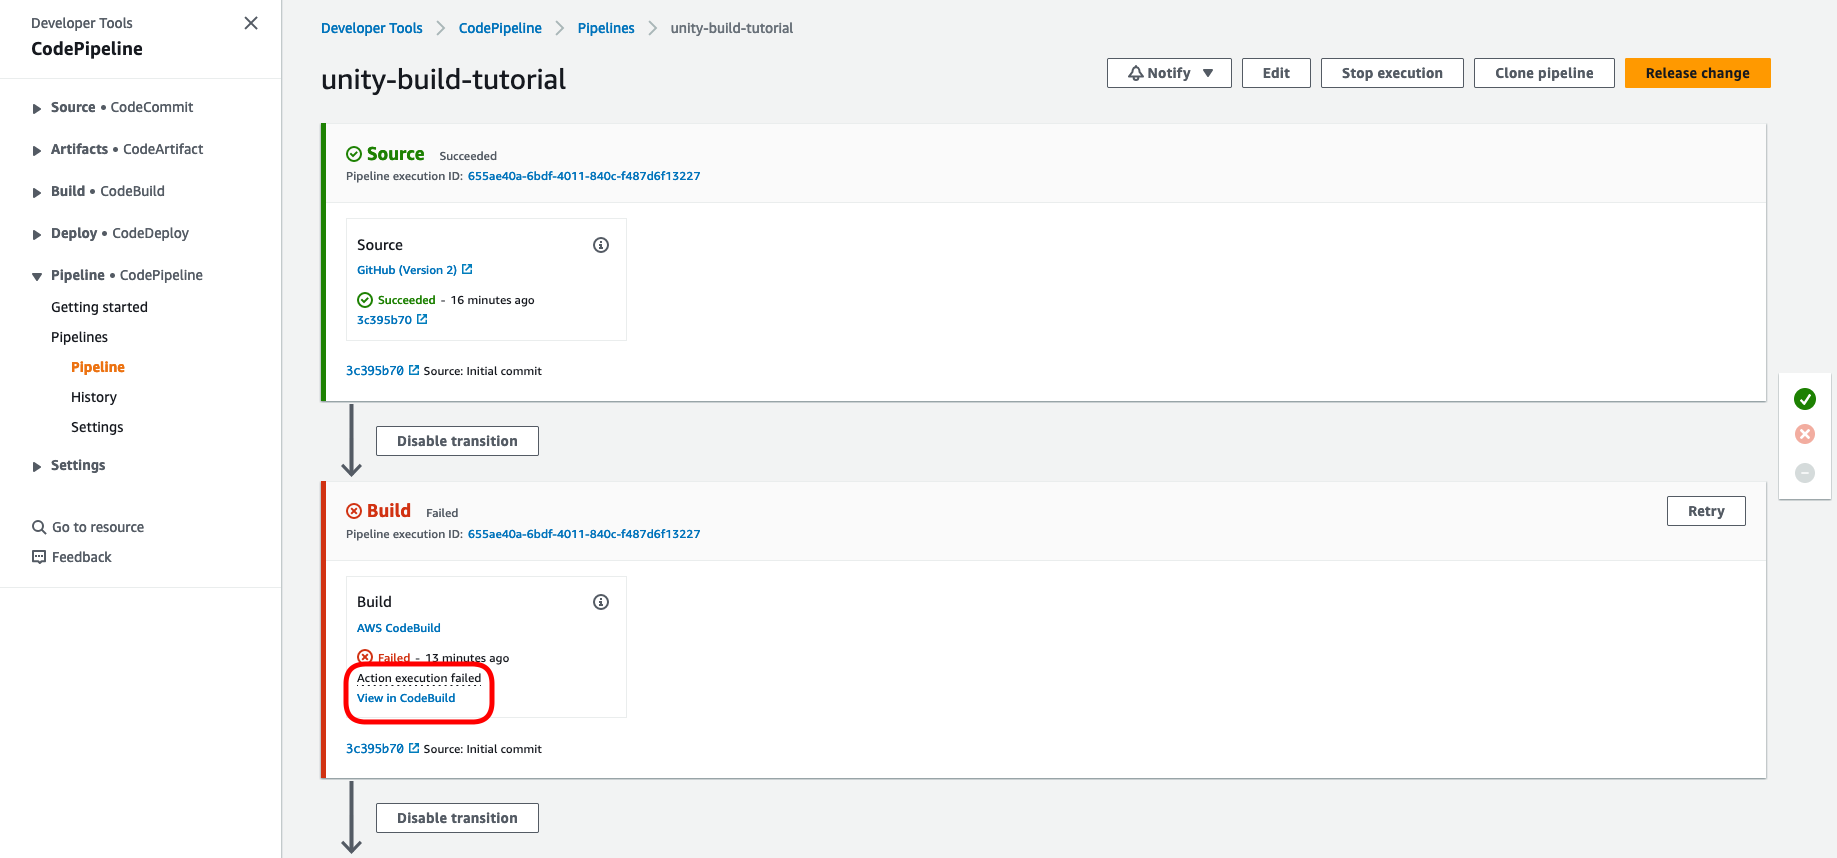
If you go back to your pipeline and click on the “Release Change” button, the build will start again. Unfortunately this build will also fail, but let’s take a look at investigating why builds might fail and how to debug them.
Once the build fails, click on the “View in CodeBuild” link.
This will bring you to a summary of the latest build in your environment.
Here we can see the build logs for this stage.

You can see that the build failed because of a YAML_FILE_ERROR.
This is referring to the buildspec file on the build project. Since we didn’t set that up correctly we expect to see this error.
Summary
The basics of our build pipeline are now set up.
From here you will need to follow the correct sections below for professional or personal licenses.