Retool Components
Introduction
To begin with we need a way for customer support to find players. We will begin by creating a list in Retool using the components below.
- Container
This groups Retool components in a single, scalable container component. Retool uses the Bootstrap grid system so components are sized in 12 columns. - Table
This will be where our player’s name, email, access-type and last-login are shown. - Button
This triggers queries and other actions. - Form
This groups input fields in a component to be submitted together in a query. - Modal
This groups components in an overlay that is displayed when the associated button is clicked. This will be added in a future section of the tutorial.
Container
From the component panel in the Retool App Dashboard, add a container by dragging the container option from the left-hand-side menu into the edit area.

Expand it horizontally to fill the 12 columns of the main app. The vertical size can be set to 100.

Table
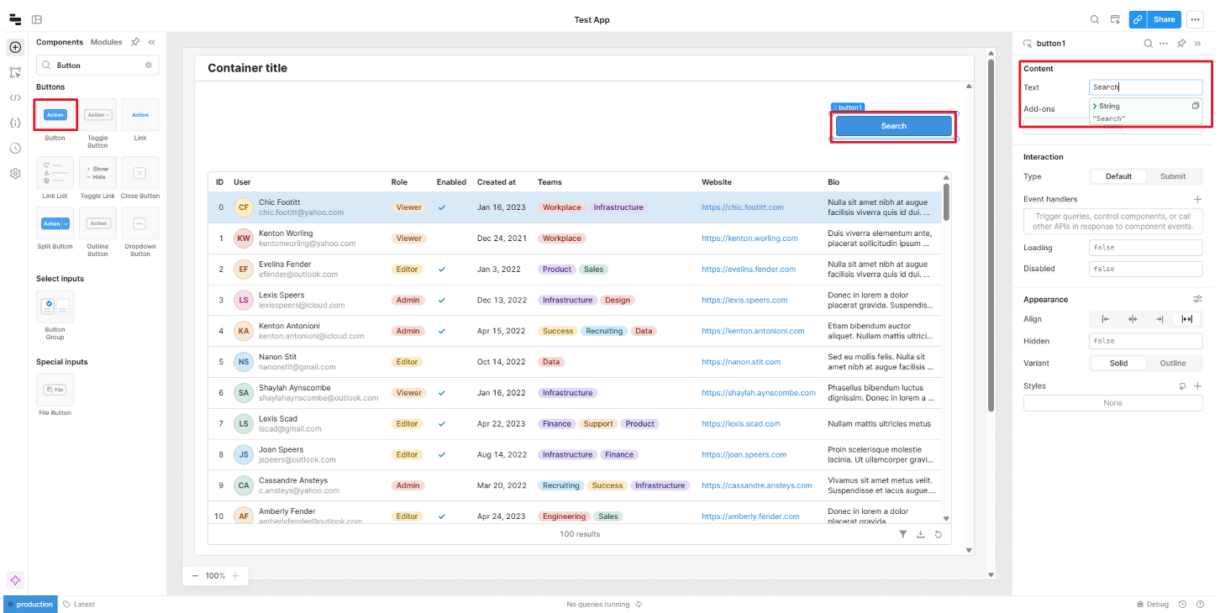
Then add a table to the container. Components can be found by using the search bar on the left of the dashboard.

You should see that the table is pre-populated with demo data provided by Retool. Expand this horizontally to fill the container and vertically to 75 rows. Components can be easily resized as more are added.
Button
Finally add a button above the table. Click on the button and on the right of the dashboard, change the text field to ‘Search’. It will be used to trigger a query that populates the table.

Naming Components
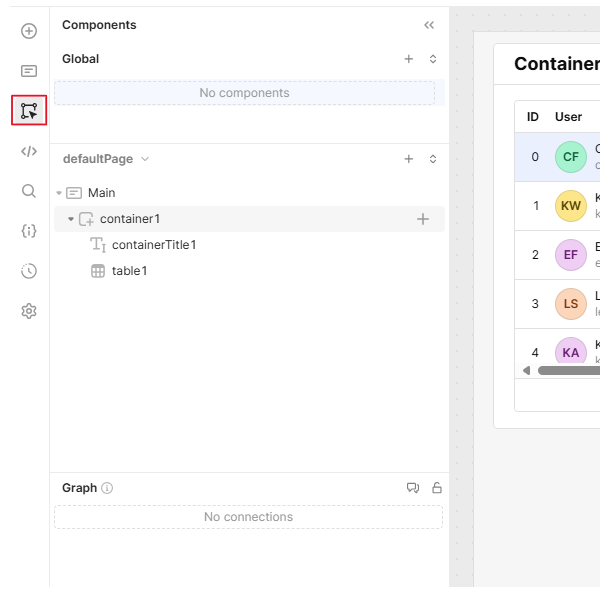
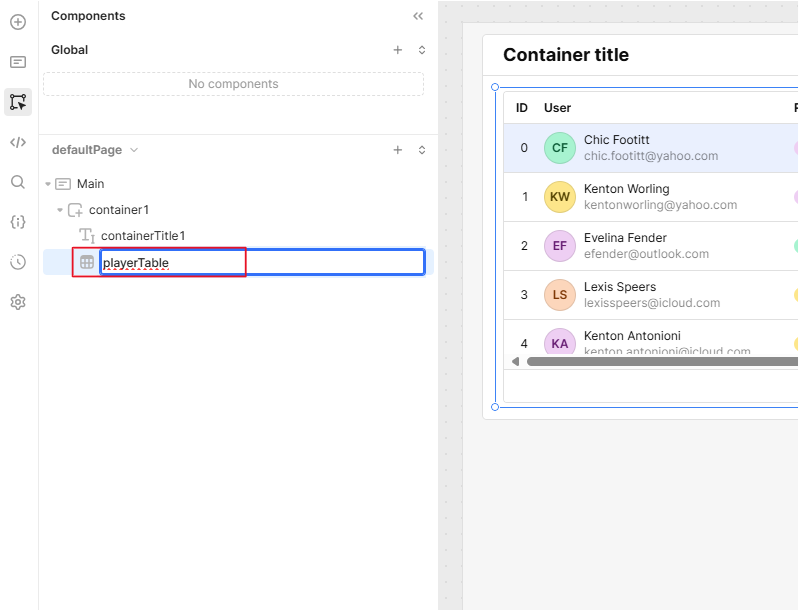
Looking at the component tree on the far left-hand-side menu, we will rename the components to keep the app organized as more components are added.

The component tree outlines the structure of the app like a folder directory. The components we added have default names. We will change them to something more descriptive to keep the app organized as more components are added.

Summary
Now the basic components have been added to the app.
From here you need to add test data for the app to use.
